GLPI is a web application created with PHP that allows comprehensive management of a company’s IT inventory and also includes a ticketing/helpdesk system. In this way, many companies rely on GLPI for computer inventory tasks and incident reports.
The application is completely Open Source and being created with PHP we can install it in almost any modern operating system. Also, access to this application can be carried from a mobile device.
Getting GLPI on Ubuntu 20.04
1. Install LAMP on Ubuntu 20.04
In this post, it is assumed that you have a clean install of Ubuntu and therefore we are starting from scratch.
GLPI is a web application so we need a web server, PHP because it was created in this language and a database manager like MariaDB. So in summary, let’s install LAMP on Ubuntu 20.04
For this, it is only necessary to execute this command that includes Apache as a web server, PHP along with the necessary modules for its execution, and MariaDB.
sudo apt install apache2 php7.4 php7.4-curl php7.4-zip php7.4-gd php7.4-intl php7.4-intl php-pear php7.4-imagick php-bz2 php7.4-imap php-memcache php7.4-pspell php7.4-tidy php7.4-xmlrpc php7.4-xsl php7.4-mbstring php7.4-ldap php-cas php-apcu libapache2-mod-php7.4 php7.4-mysql mariadb-server
After that, remember to check the status of Apache and MariaDB for any errors.
sudo systemctl status apache2
sudo systemctl status mariadb
Before using Apache remember to open ports 80 and 443 of the firewall.
Then, in your web browser, go to http://SERVER-IP and you will see something like this
If everything went well, then, set a root password for MariaDB using the mysql_secure_installation script.
sudo mysql_secure_installation
During the installation process, you will be able to set a root password.
You will then be asked a few configuration questions that you can answer AND all of them.
Remove anonymous users? [Y/n]
Disallow root login remotely? [Y/n]
Remove test database and access to it? [Y/n]
Reload privilege tables now? [Y/n]
Now, you need to create a new database for GLPI. In addition to this, you should also create a new user.
So, enter the MariaDB console
sudo mysql -u root -p
And create a new database for GLPI. Give it any name you want, but make it recognizable.
CREATE DATABASE glpidb;
Now with this statement, create the new user and set permissions on the database.
GRANT ALL PRIVILEGES ON glpidb.* TO 'user'@'localhost' IDENTIFIED BY 'password';
You can call the user whatever you want, I will use user and set a stronger password than the one I set.
Then apply the changes:
FLUSH PRIVILEGES;
And exit the console:
exit;
With LAMP ready, we can continue.
2. Download GLPI on Ubuntu 20.04
After getting the system ready, you can start downloading the GLPI package.
To do this, go to the /tmp folder, and from there with the wget command access it.
cd /tmp/
wget https://github.com/glpi-project/glpi/releases/download/9.5.5/glpi-9.5.5.tgz
Unzip the archive with tar.
tar -xvf glpi-9.5.5.tgz
Then move the folder to the Apache root directory and set the necessary permissions on it
sudo mv glpi /var/www/html/
sudo chmod 755 -R /var/www/html/
sudo chown www-data:www-data -R /var/www/html/
Create a new VirtualHost for Apache. This is so that Apache can better manage access to the site.
sudo nano /etc/apache2/sites-available/glpi.conf
And add the desired configuration which for example can be this one:
<VirtualHost *:80>
   ServerAdmin admin@your_domain.com
   DocumentRoot /var/www/html/glpi
   ServerName your-domain.com

   <Directory /var/www/html/glpi>
        Options FollowSymlinks
        AllowOverride All
        Require all granted
   </Directory>

   ErrorLog ${APACHE_LOG_DIR}/your-domain.com_error.log
   CustomLog ${APACHE_LOG_DIR}/your-domain.com_access.log combined

</VirtualHost>
Replace ServerName with your domain and ServerAdmin with the correct information.
After saving the changes and closing the editor, you need to enable the new VirtualHost.
sudo ln -s /etc/apache2/sites-available/glpi.conf /etc/apache2/sites-enabled/glpi.conf
Apply the changes by enabling the Apache rewrite module and restarting it.
sudo a2enmod rewrite
sudo systemctl restart apache2
Optional: Secure GLPI access with Let’s Encrypt
Although this step is optional, it is recommended to enable HTTPS if access to GLPI will be through an external network. So, for this, you need to have a valid domain.
First, install Certbot and the Apache plugin.
sudo apt install certbot python3-certbot-apache
After that, generate the certificates with the following command
sudo certbot --apache -d [your-domain]
Replace [your-domain] with your domain name. During the process, you will have to accept the license terms and set the required email address to complete the step.
Then, restart Apache
sudo systemctl restart apache2
Now we can finish the installation.
3. Complete the GLPI installation
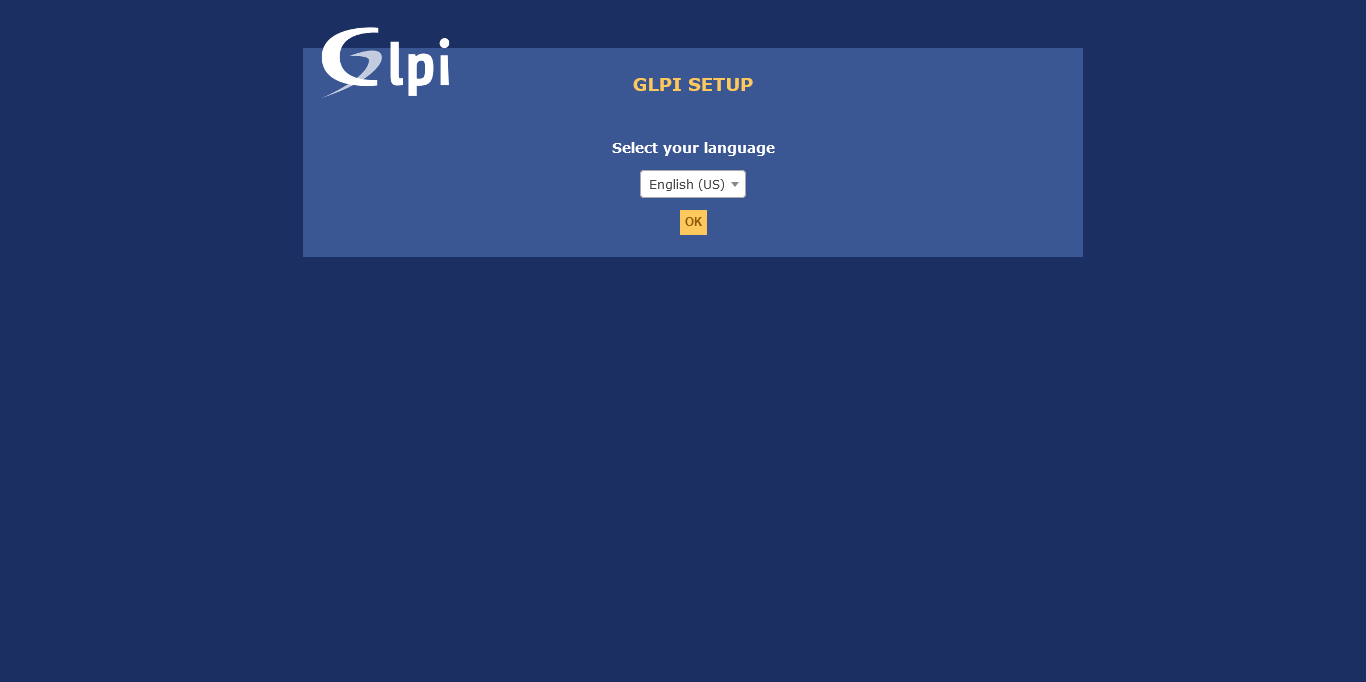
Now we can open a web browser and visit the https://your-domain page to see the welcome screen where we can set the language of the installation.
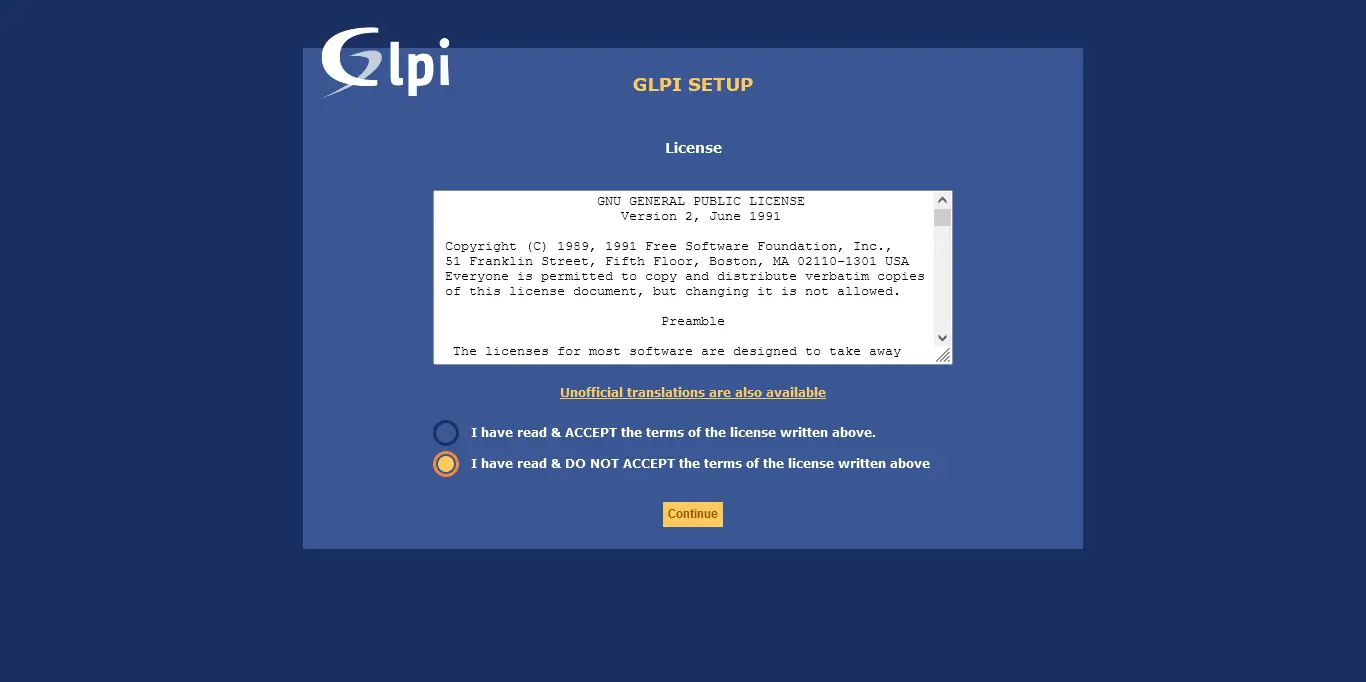
Next, you will need to accept the license terms.
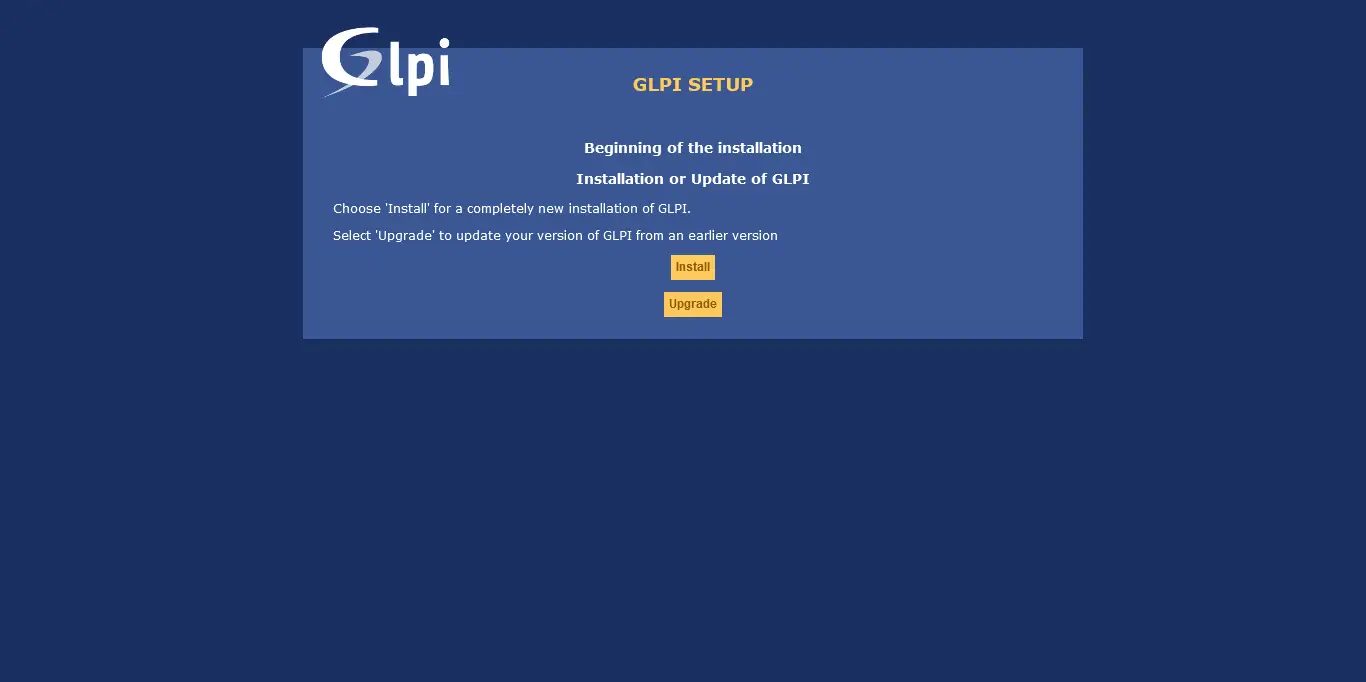
As this is a new installation, you will have to click on the Install button.
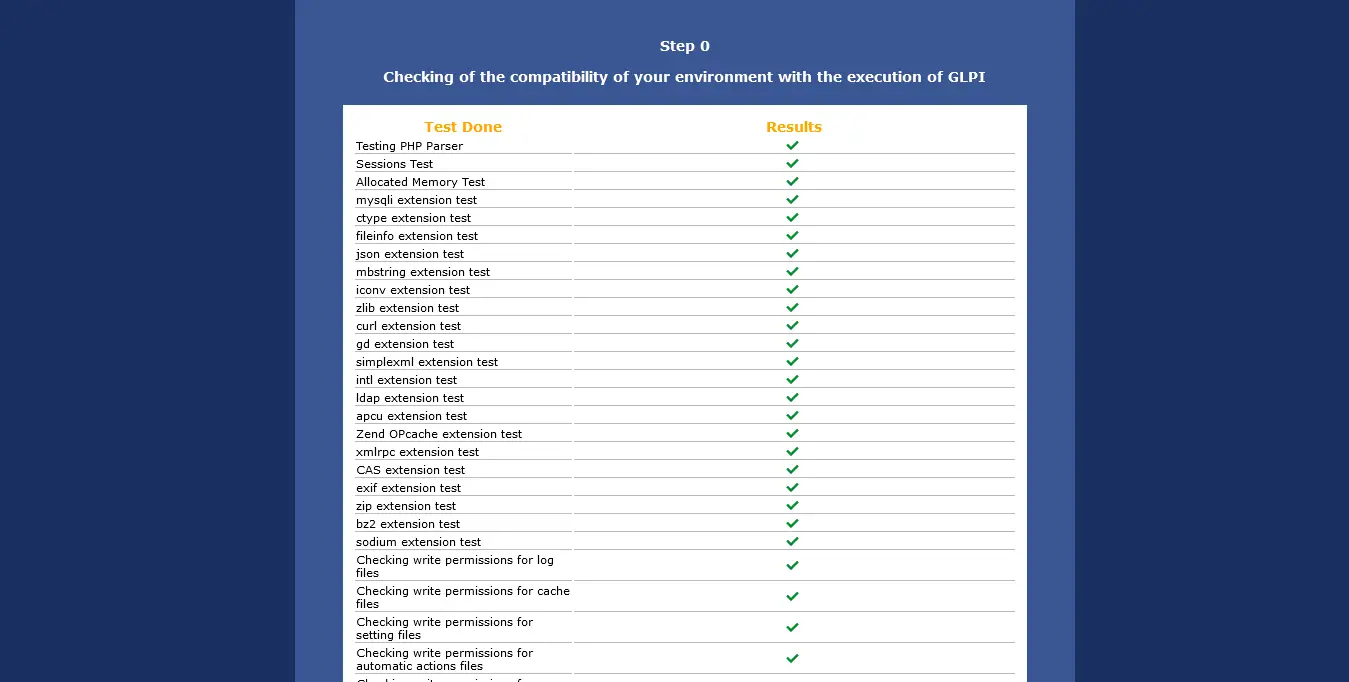
The installer will now do an analysis of the server to see if it meets all the requirements.
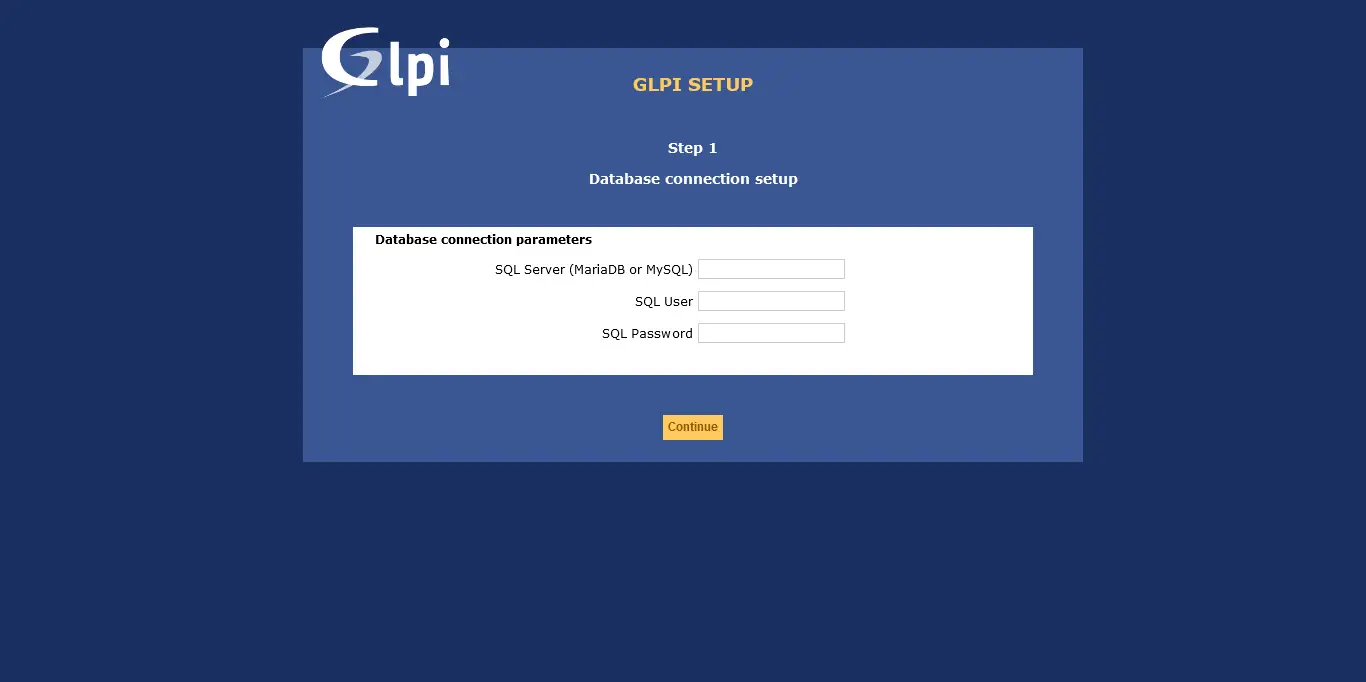
Now it’s time to set the database parameters. Type localhost in the first field and the username and password of the created user.
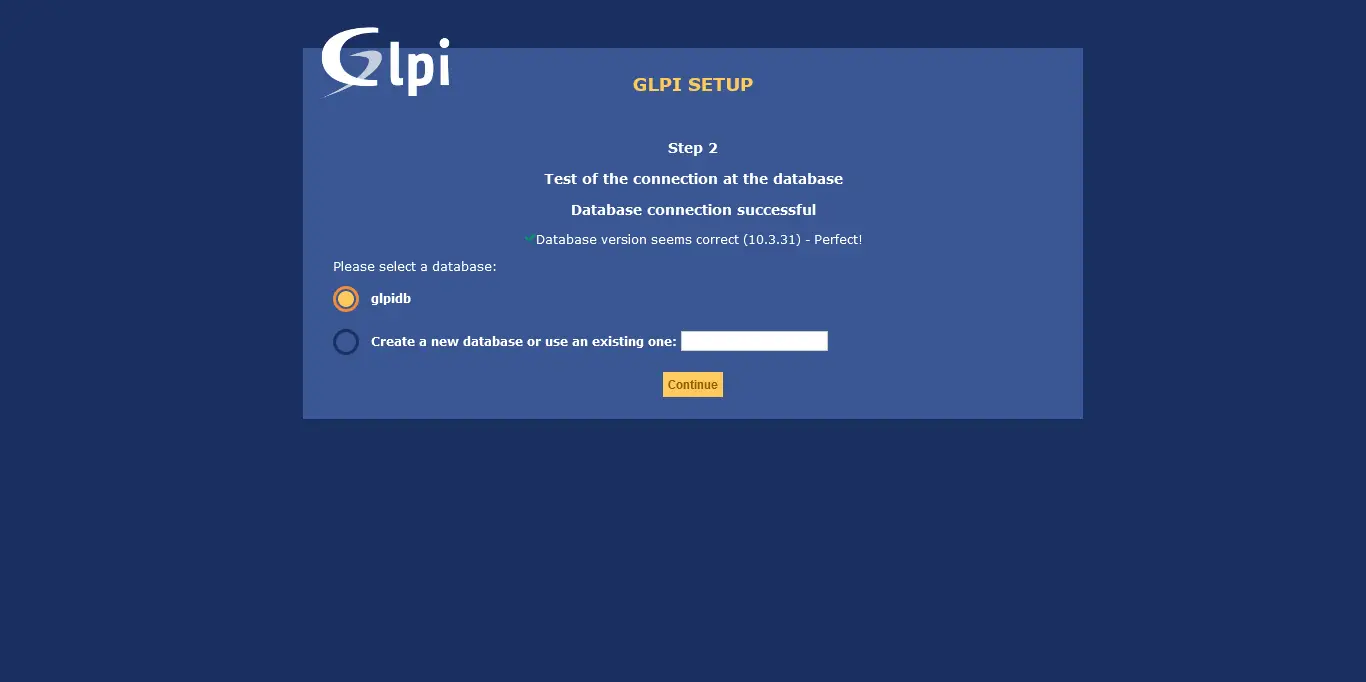
If the connection to the database was successful, you will be shown the database we have created. Select it and continue the process.
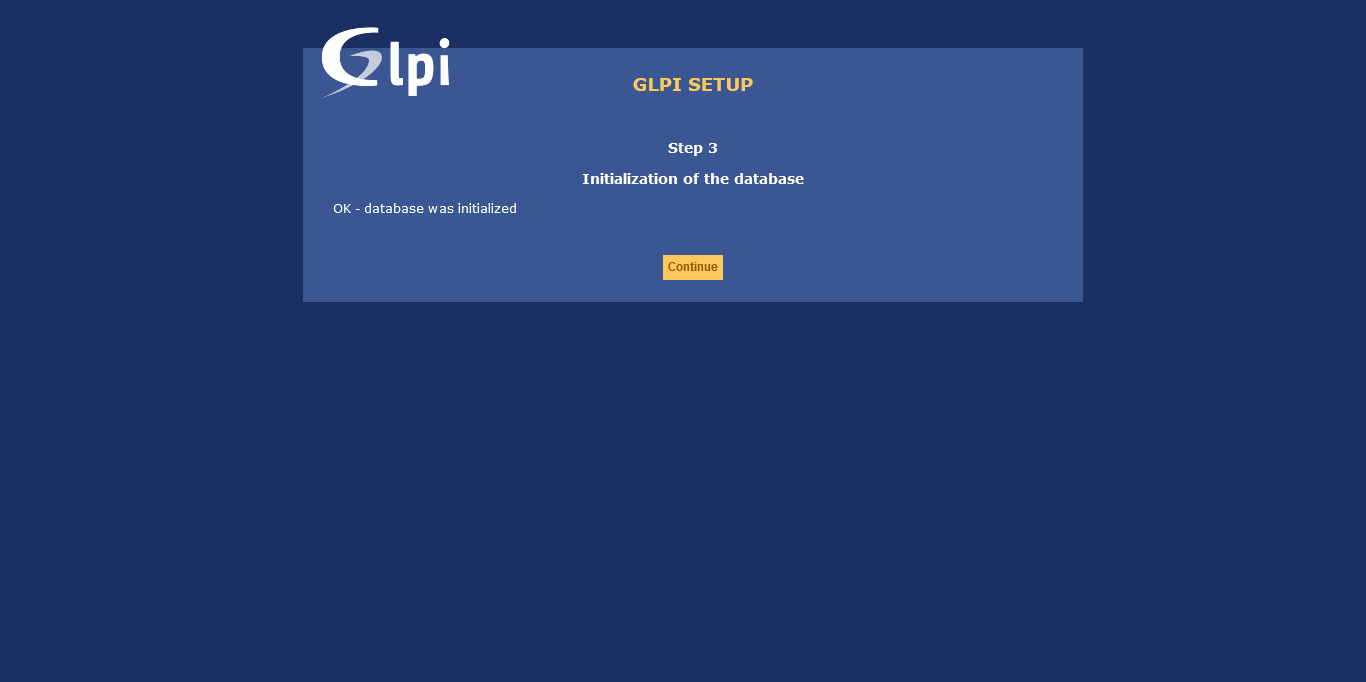
You will then see a message saying that everything was successful.
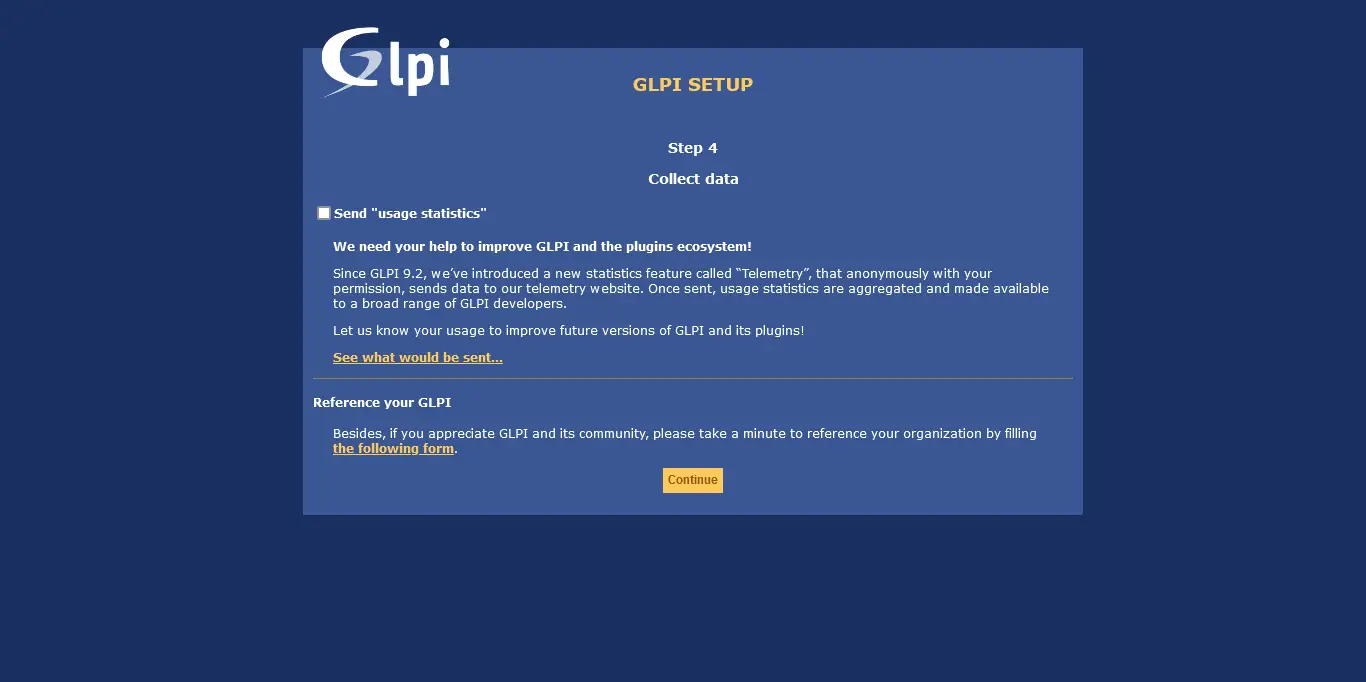
If you want to collaborate with the project, sending usage data anonymously you can do it.
Finally, you will see that the whole process has been successful and you will be given login credentials.
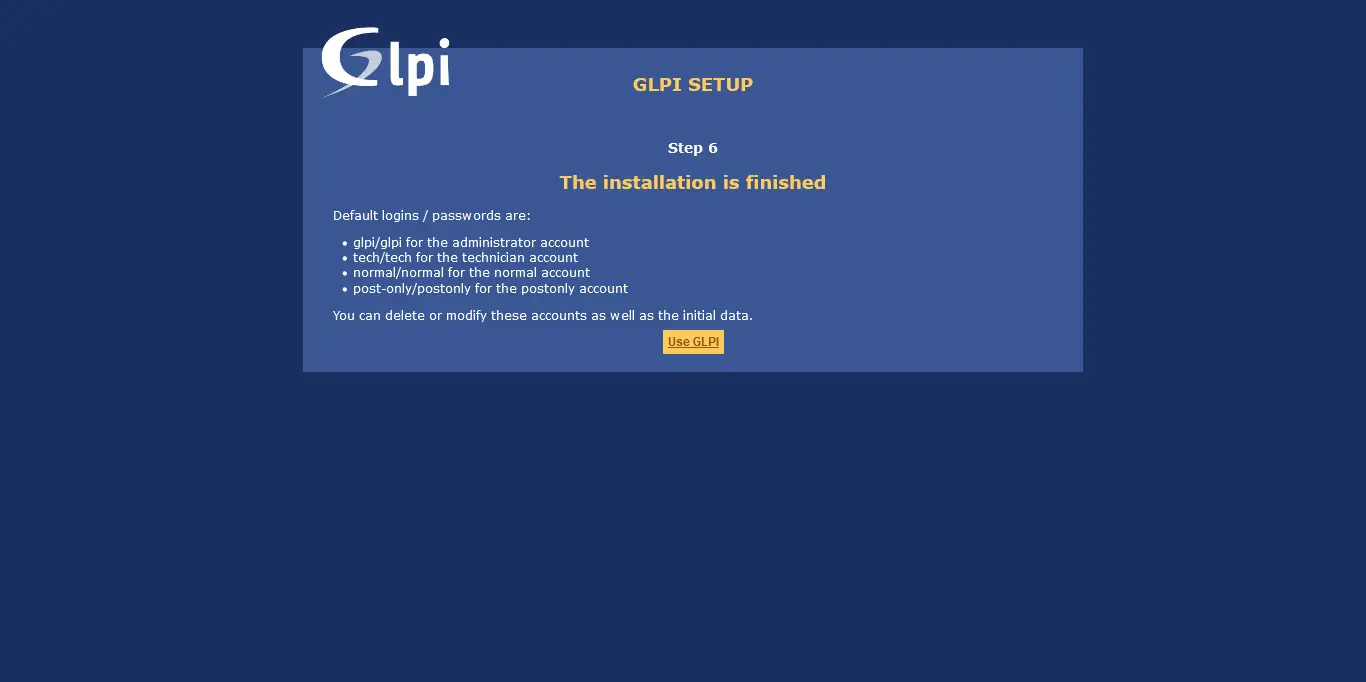
After logging in you will see the main screen.
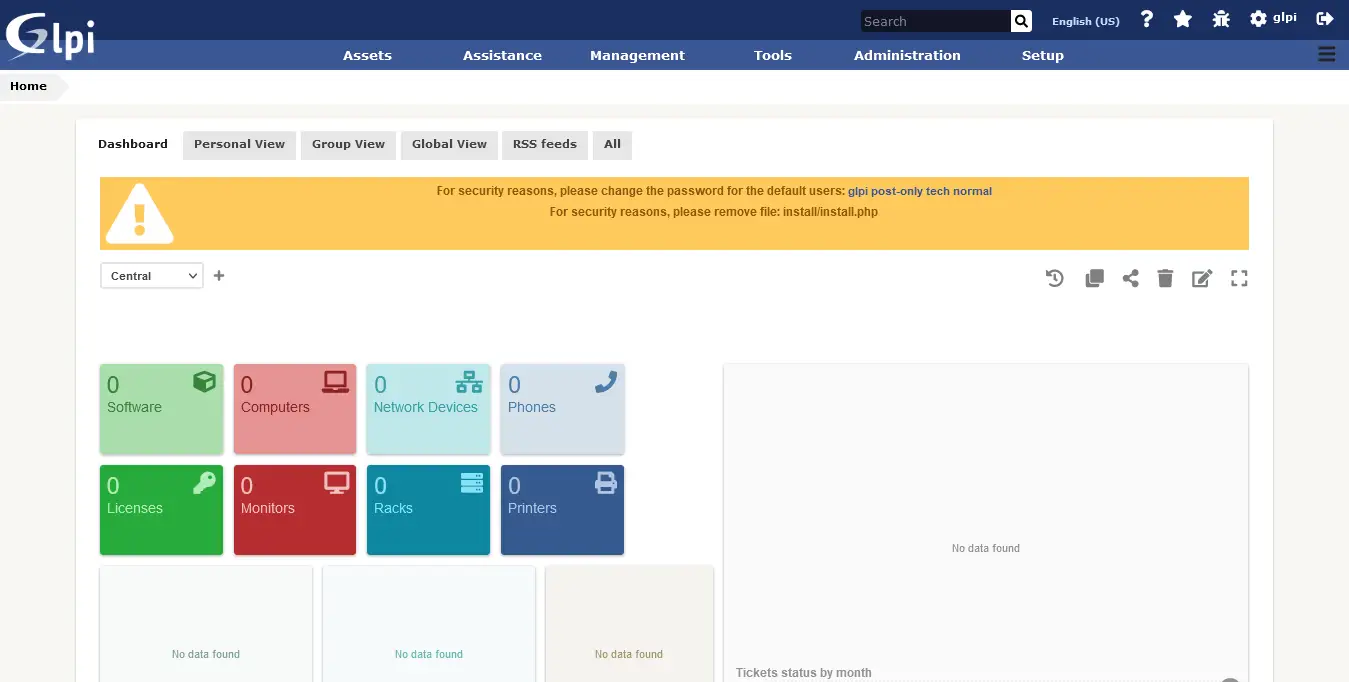
This indicates that GLPI has been successfully installed.
Conclusion
GLPI helps us with administrative functions that we can take advantage of by installing it on Ubuntu 20.04 which is what you have learned in this post.
So, share this post on your social networks and help us to grow.