It’s almost a no-brainer to have many images on the computer. Some of them are personal like photos and so on, but others are for work purposes. In this sense, if you work with plenty of images for a blog or website, it is convenient to know how to compress / optimize JPEG images using the Linux terminal.
If you have a personal blog, it can be very convenient to reduce the size of the images you are going to upload. Remember that on the internet the loading and reading time must be very fast and there are images that should be optimized before uploading.
On the web, there are many tools that can help you, but what if you want to do it from the terminal? Well, there is a tool that will help you with that, and it is called jpegoptim.
Discovering jpegoptim and its functionality
According to the website of the main developer of jpegoptim:
jpegoptim is an utility to optimize jpeg files. It provides lossless optimization (based on optimizing the Huffman tables) and “lossy” optimization based on setting maximum quality factor.
Just like that. Thanks to jpegoptim you can compress / optimize JPEG images from the terminal. Of course, it is open source, so you can examine the source code and know that everything is correct.
In addition to this, the tool can be installed on various systems and not only Linux. There are also versions for macOS and Windows, although with a less complete support.
It should also be noted that the tool is simple to use, but has some interesting options to make the process a bit more flexible.
JPEG Image Optimization / Compress Command
As mentioned above, the command that allows you to optimize a JPEG image is jpegoptim. You will have to install this command because it does not come by default in almost any Linux distribution.
To install it on Debian, Ubuntu and derivatives, you can run
sudo apt update
sudo apt install jpegoptim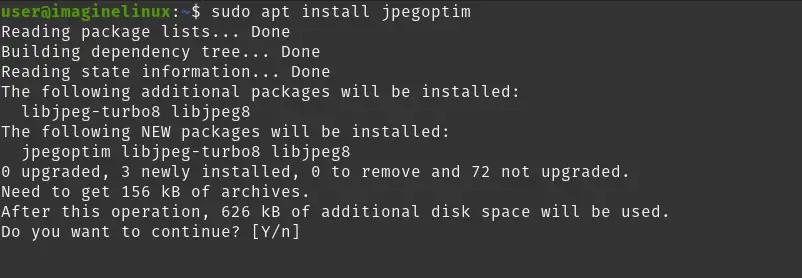
On other Linux distributions where it is not present in the repositories, you will have to compile the application yourself. This is not complicated at all.
First, download the source code of the tool with wget
wget -O jpegoptim.tar.gz https://github.com/tjko/jpegoptim/archive/refs/tags/v1.5.2.tar.gzThen, unzip it:
tar xvfz jpegoptim.tar.gzAccess the generated folder and prepare to compile it
cd jpegoptim-1.5.2
./configure
Then, compile
make
make strip
Then install it
sudo make installThis way, you will be able to use the tool.
Compressing / optimizing JPEG images with jpegoptim command
Before we start, it must be said that the tool works very well, but it overwrites without asking. So to prevent your images from being damaged or lost, work with backups before checking the appropriate option.
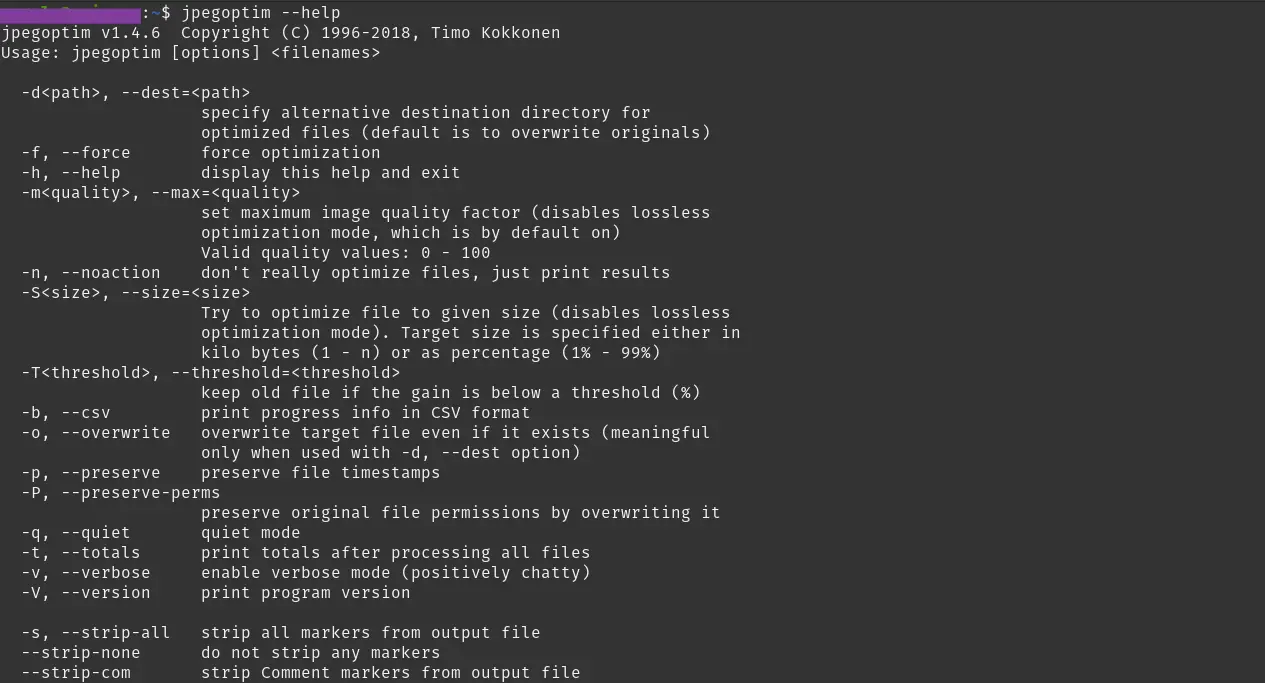
The first thing you have to do is to consult the help provided by the command line. To achieve this, you can run.
jpegoptim --helpYou will see an output similar to this
The application was made, intending to be as simple as possible and not having to tweak it too much to be perfectly useful. So, the most basic syntax is as follows
jpegoptim [file.jpeg]Of course, it also supports some options so another syntax could be
jpegoptim [options] [file.jpeg]For example,
jpegoptim my-file.jpegAutomatically, some optimizations will be performed. In case the image is very well optimized, then this output will be shown on the screen.
ee.jpeg 405x240 24bit N Exif JFIF [OK] 7693 --> 7693 bytes (0.00%), skipped.A negative point of the tool is that it does not support the inclusion of several images as parameters to optimize several at once. The closest is to use the wildcard * to collect all the images in the directory where the prompt is located.
jpegoptim *.jpegAdvanced option to compress JPEG images
An interesting option to try is the --size option, which sets a parameter by which the tool will optimize the image by reducing the size.
Before using it, I recommend again to test it on a backed up image.
The correct way to use this option is:
jpegoptim --size=[value] [your-image]For example,
jpegoptim --size=30% ee.jpegThere you will have a screen output like this
ee.jpeg 405x240 24bit N Exif JFIF [OK] 19006 --> 6322 bytes (66.74%), optimized.Remember that you can adjust the value to your needs.
To avoid overwriting the original files, you can use the -d or --dest option, which sends the optimized files to a new directory. Note that this option will only work if the images can be optimized. Otherwise, they will not be sent to the folder.
jpegoptim --size=30% --dest=/home/user/folder/ ee.jpegIf the folder does not exist, then the command will raise an error like this
jpegoptim: invalid destination directory: /home/user/folder/Uninstall jpegoptim from Linux
In case you would rather not use it anymore, then it is best to remove it from the system. To do so, run this command.
sudo apt remove jpegoptimIf you have manually compiled the application, it will be enough to remove the directory where you downloaded and compiled the tool, in addition to removing the binary from /usr/bin.
Conclusion
Working with JPEG images is fundamental for many people. I hope that this post, has helped you, and you can take advantage of it so that from the terminal you can compress and optimize these images and thus facilitate the work.
I hope you liked the post, and you can share it with your friends.
I will share my experience in image optimization …
At first, I had to manually compress all the pictures through Photoshop. The most free option by the way (except for the cost of a license for Photoshop).
But this process takes a lot of time if there are more than 10-20 pictures on the site. After all, each picture must be manually processed, and then upload on the site again.
Tedious such a process …
Now I use this service – https://optipic.io/
It saves a lot of time) It works by itself – automatically – only 1 time it needs to be connected to the site.
Google is satisfied)
I will share my experience in image optimization … At first, I had to manually compress all the pictures through Photoshop. The most free option by the way (except for the cost of a license for Photoshop). But this process takes a lot of time if there are more than 10-20 pictures on the site. After all, each picture must be manually processed, and then upload on the site again. Tedious such a process … Now I use this service – https://optipic.io/ It saves a lot of time) It works by itself – automatically – only 1 time it needs to be connected to the site. Google is satisfied)