Hello, friends. How to install an operating system is always a task that we must know to perform our work in a better way. So, in this post, I will show you how to install Debian 11. The process will be done in a virtual machine and it will be guided.
Debian 11 is the latest version of this popular operating system that pretends to be universal. That is to say, that is so robust in a desktop as in server, and thanks to the great number of available packages we will not lack anything more.
So, let’s go for it.
Install Debian 11
Before we start
The first thing to do is to visit the Debian website and download the corresponding ISO image. If you have a fast internet speed you will most likely want the NetImage. Either way, you have a lot of options.
Next, you have to create a bootable device with this image. The process is quite easy thanks to tools like Etcher. So once you have it we can get started.
First steps of the installation
When you start the bootable image, you will see the following menu.
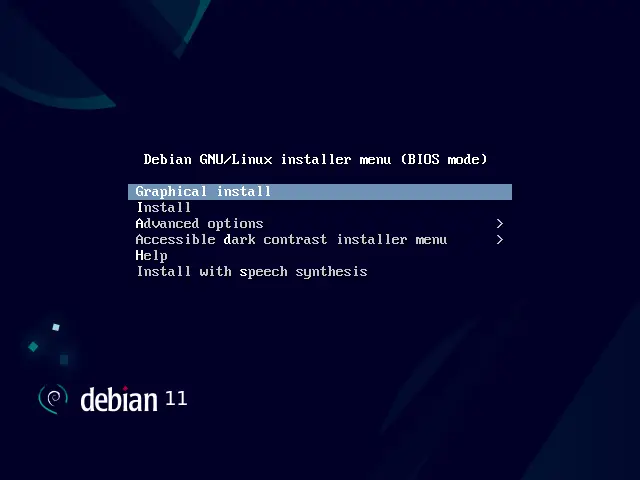
This menu allows us to start the installation either graphically or not. Also, you will have other advanced options.
There is not much difference between choosing the Graphical Install or the Install option. In this case, I have chosen the latter.
You will then see the installer and system language selection screen.
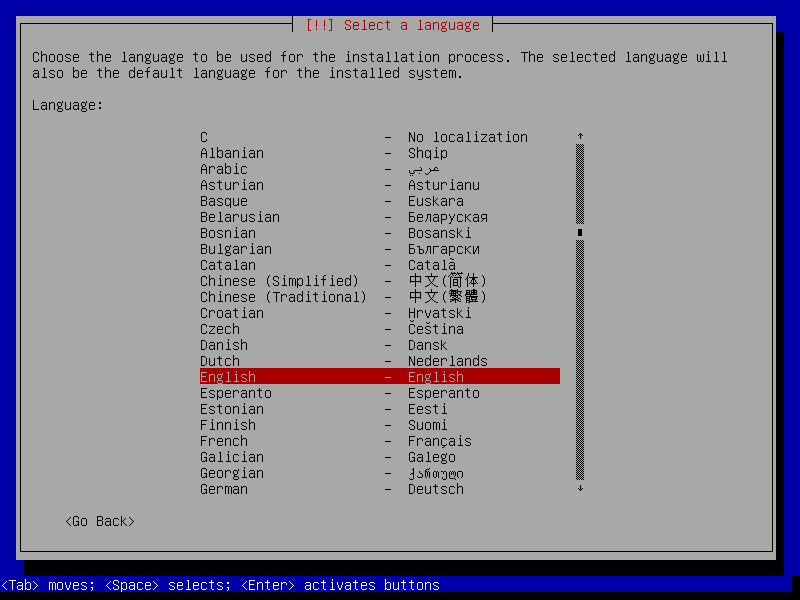
As Debian is available in many languages due to the great work of the community, you should have no problem finding your language. Scroll with the arrow keys and select it by pressing Enter.
Now choose your locale. This is to set the system Timezone properly.

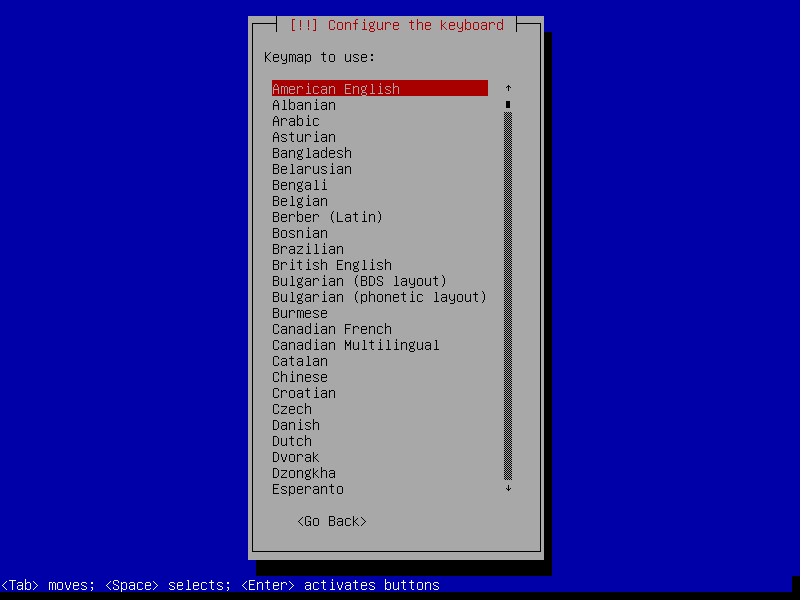
Then it’s time to define the language and layout of your keyboard. As with the previous screens, there are many options and you should have no trouble finding yours.
Next, you have to set the hostname of the computer.
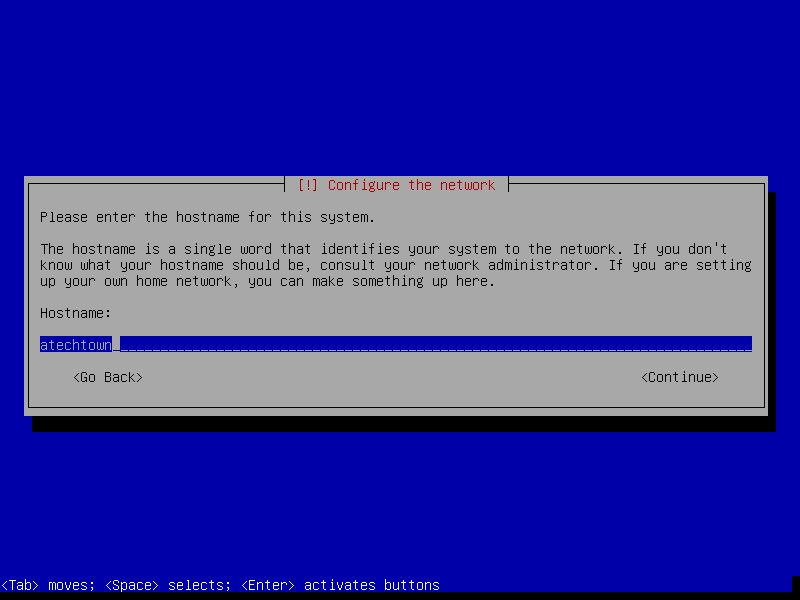
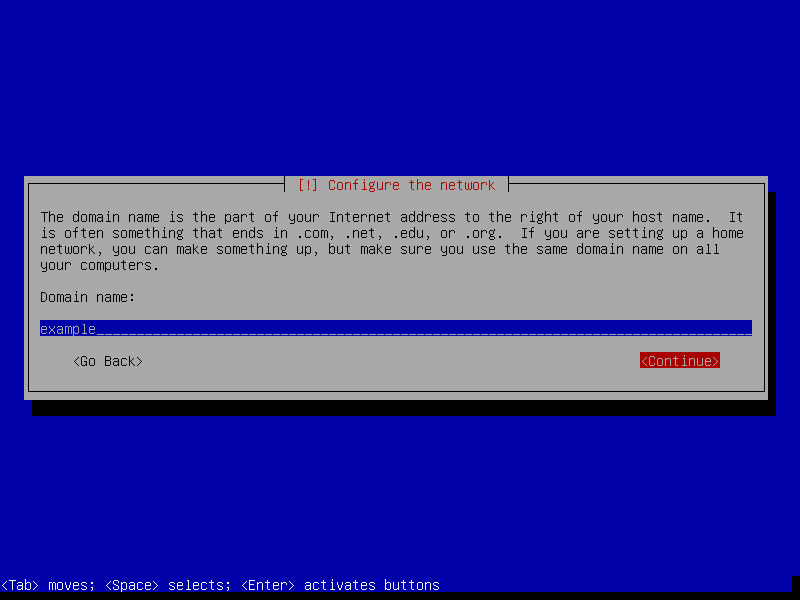
And the Domain name. Of course, this will depend a lot on how you use Debian. On the desktop, you can leave this blank.
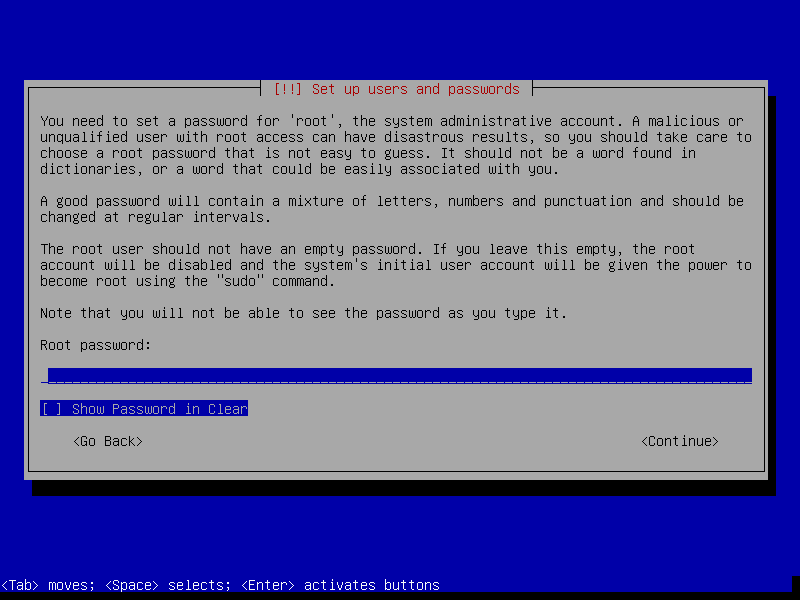
Now you have to set a password for the root user. This password must be secret and strong.
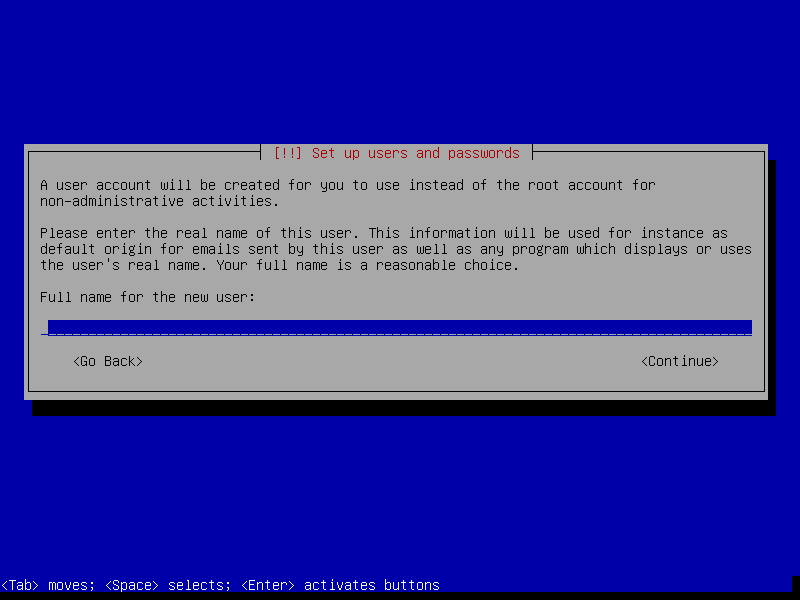
After you confirm it, you have to create a new user. First, the real name of the user.
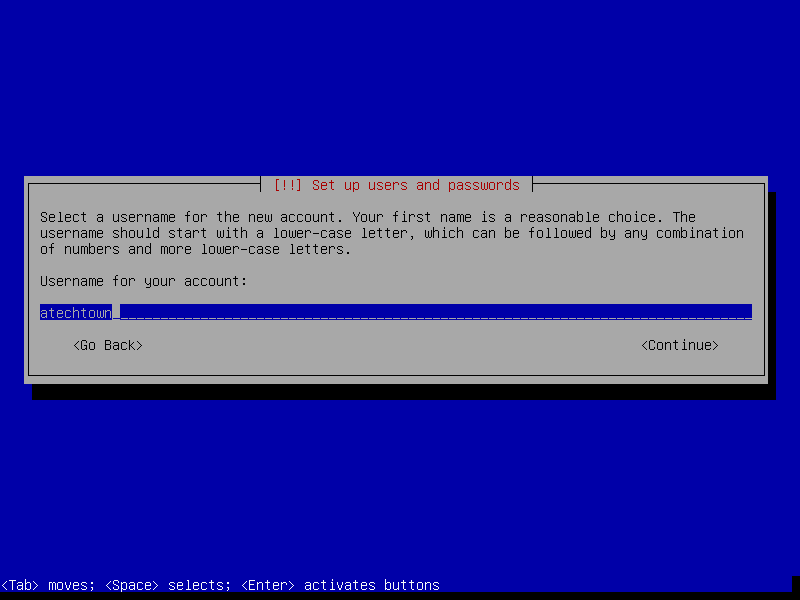
Now define the username
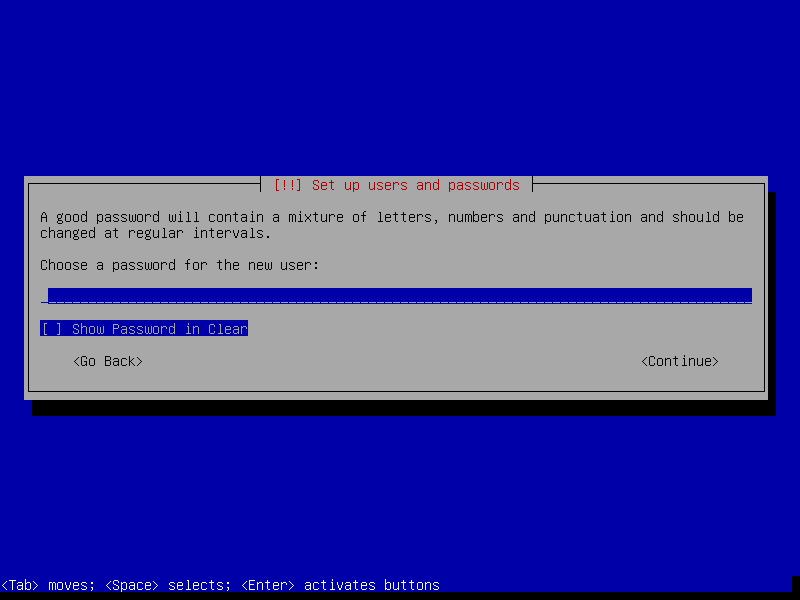
And then the password of the new user.
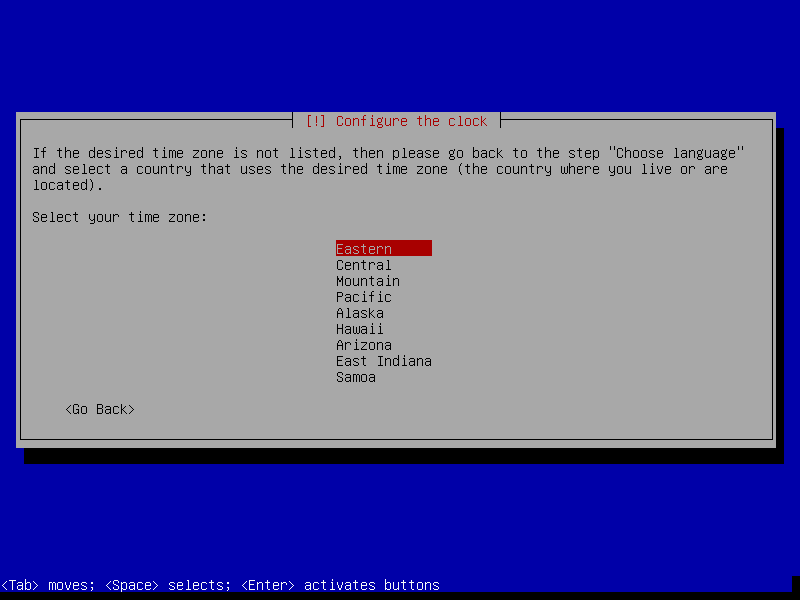
After that, set the clock.
Then comes the hard disk.
Preparing the hard disk
The most complicated process of all is working with the hard disk. If you want to use Debian only then just choose the first option and follow the instructions. There are no problems here.
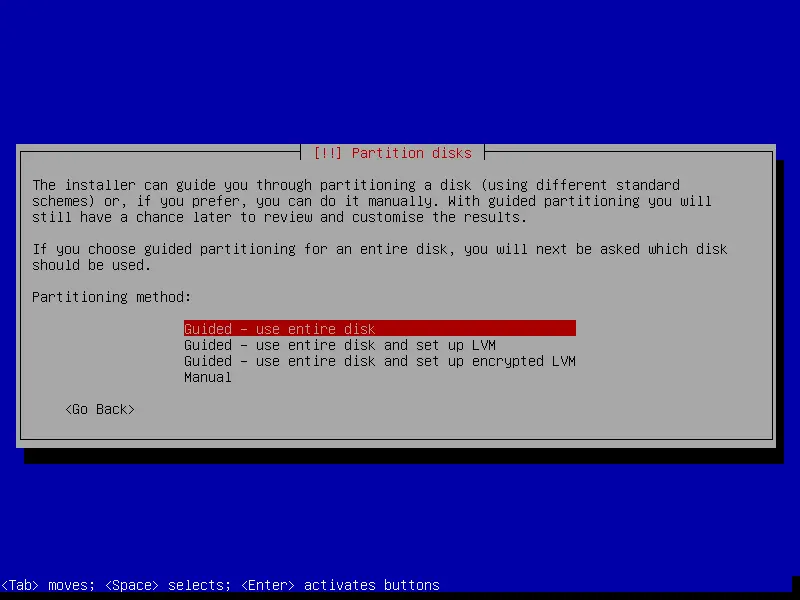
But you can prepare the disk manually.
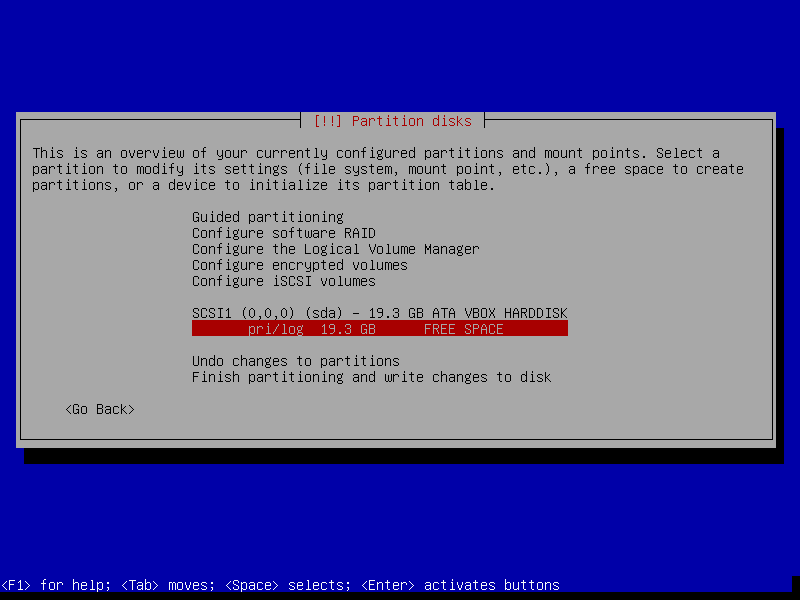
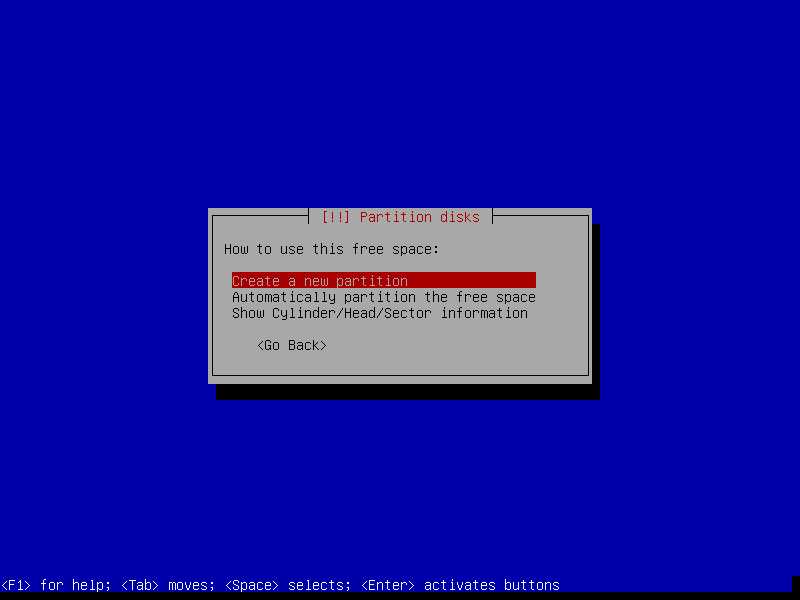
Then you can see the disk and the free space on the hard disk. Select it and press Enter.
Then, you will see a screen where you can create a new partition…,
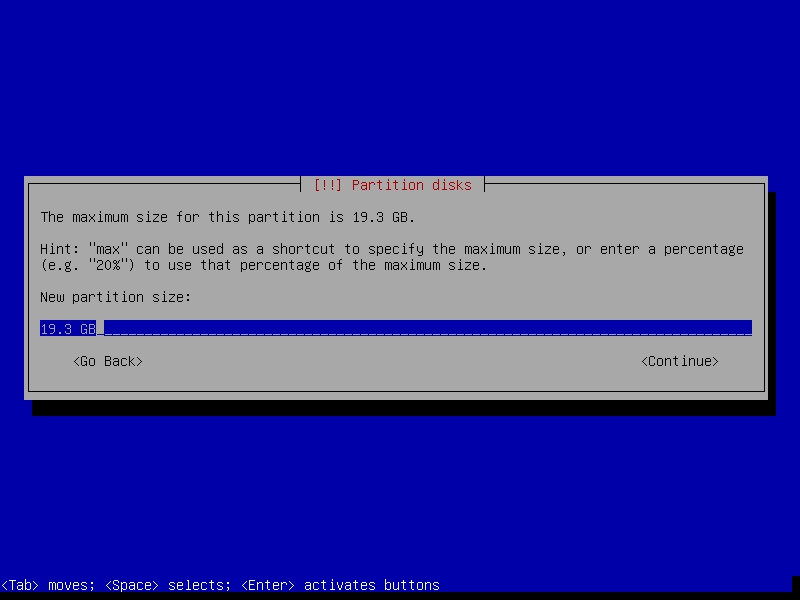
Set the size of the partition.
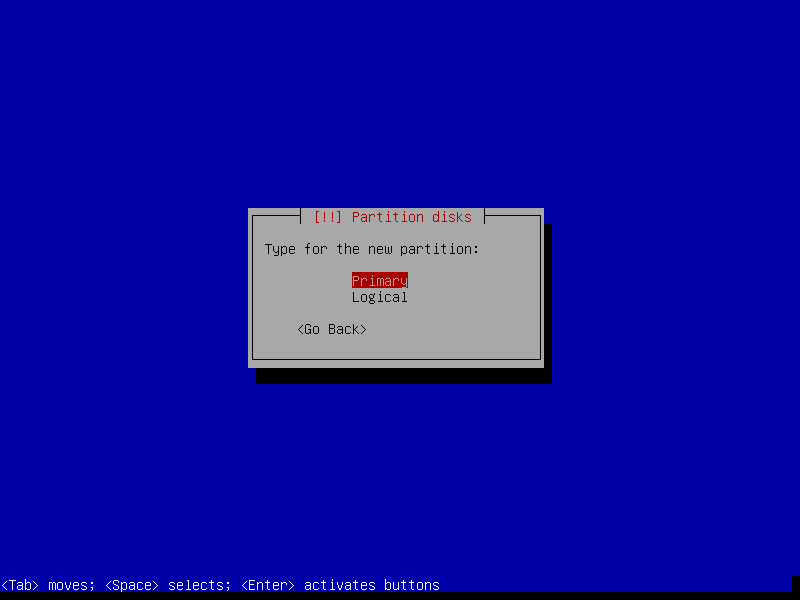
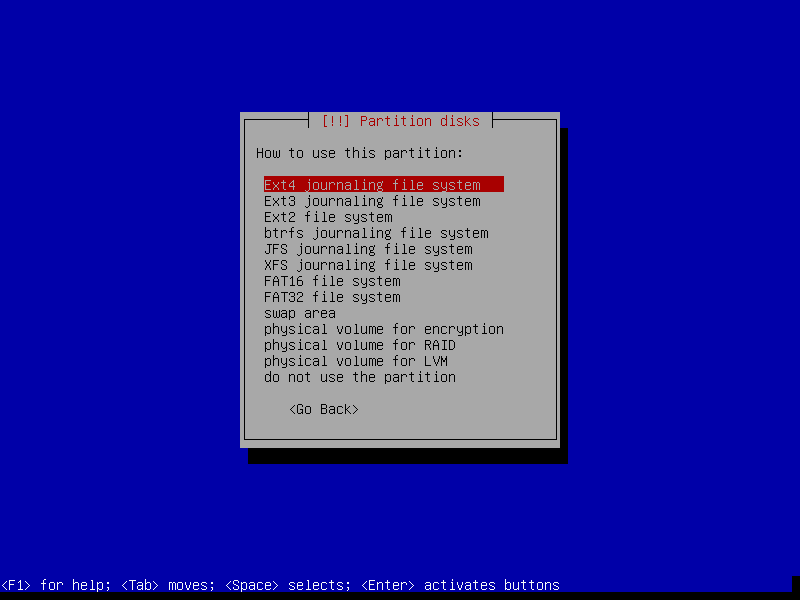
After that, choose the type of partition you are creating.
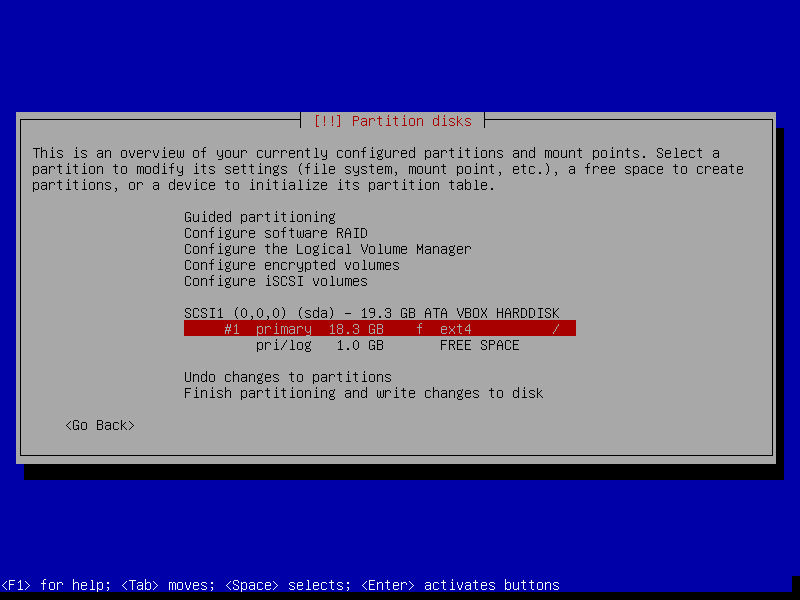
You will now see the partition options. In the Use as section, you can change the file system type. In Mount Point define where the partition will be. / refers to the root of the system.
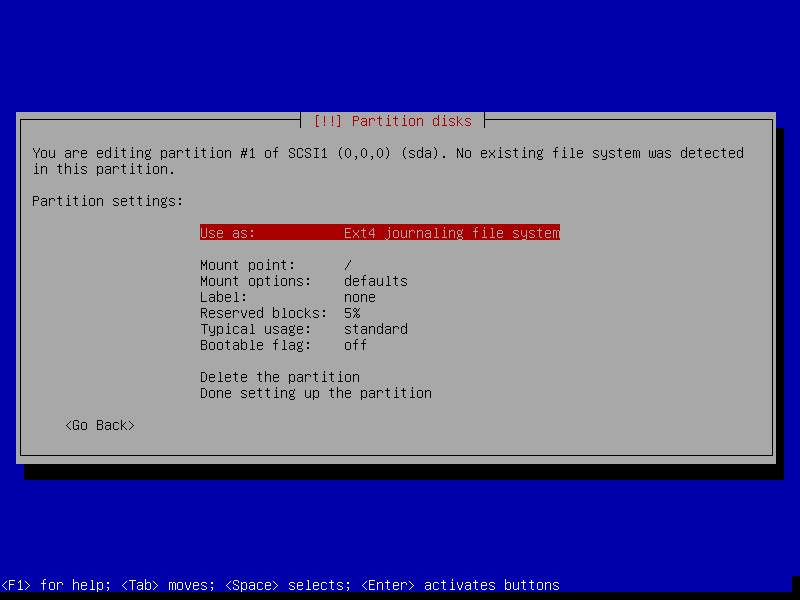
When you are ready, you can choose Done Setting up the partition.
It will look like this
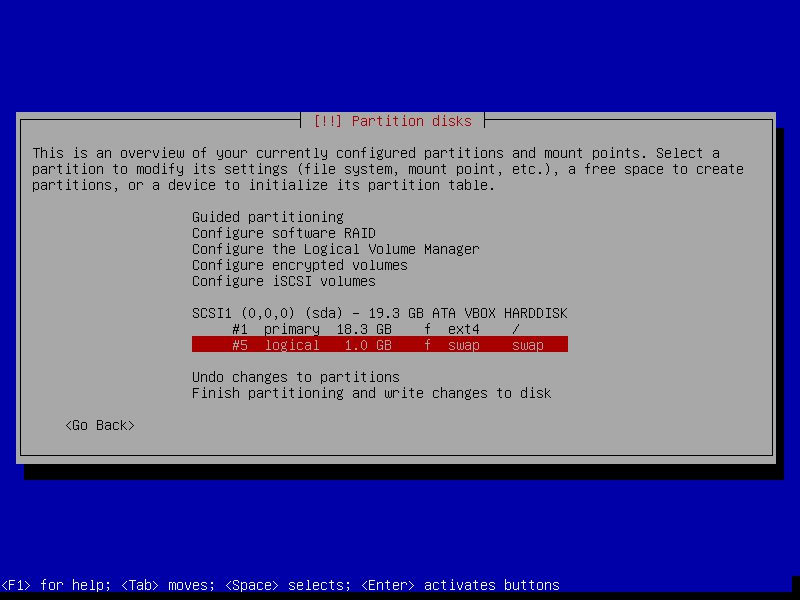
Now you need to create a swap partition. Although on systems that have 16GB or more it is not as necessary.
The process is similar, select it, create a logical partition, and under use as choose Swap Area.
define the size and when created the disk will look like this
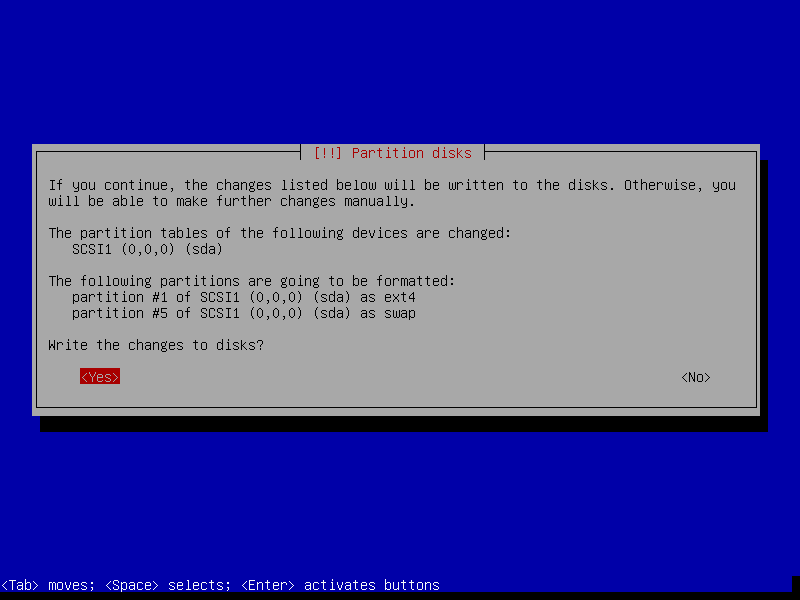
Finish the process with the hard disk.
Confirm the changes. By selecting Yes the changes cannot be reverted.
Install Debian 11 – Final steps
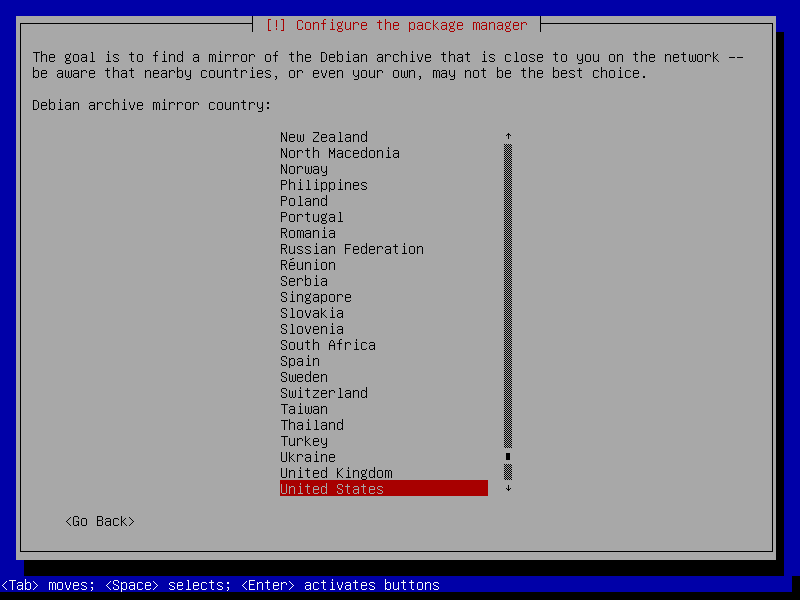
The installation of the base system will now begin. Since we are using a netinstall image, then we will be prompted to set up a Debian mirror. Choose the one closest to you.
When the APT configuration repository information is loaded, you will see this screen
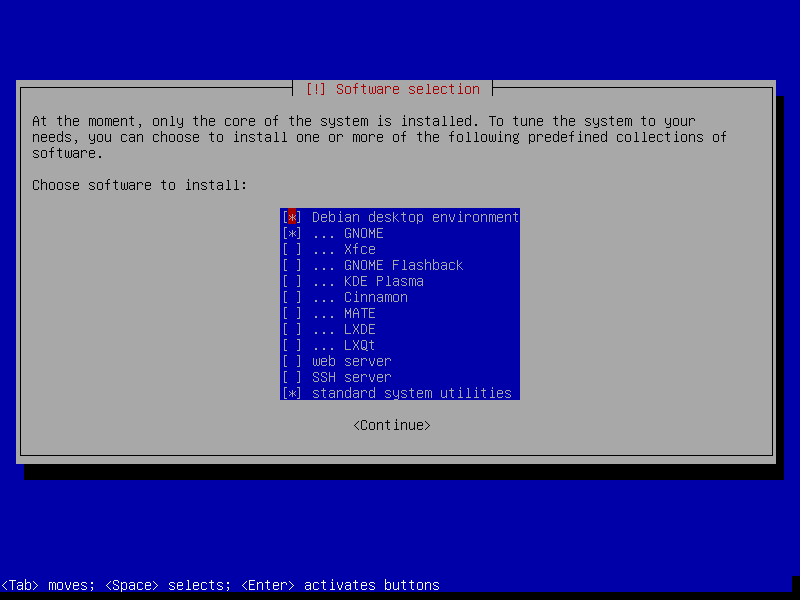
On this screen, you can choose what you want to be installed in Debian. By default, Debian desktop environment and standard system utilities are checked because it is assumed to be a desktop installation but you can choose another environment or not install any at all which is recommended for servers.
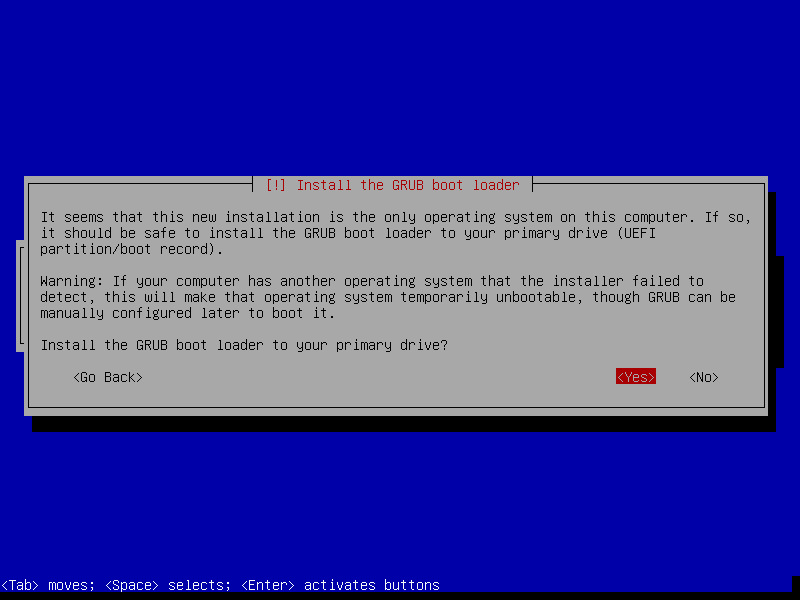
The whole download and installation process will start and the only thing left to do is to install the grub on this screen.
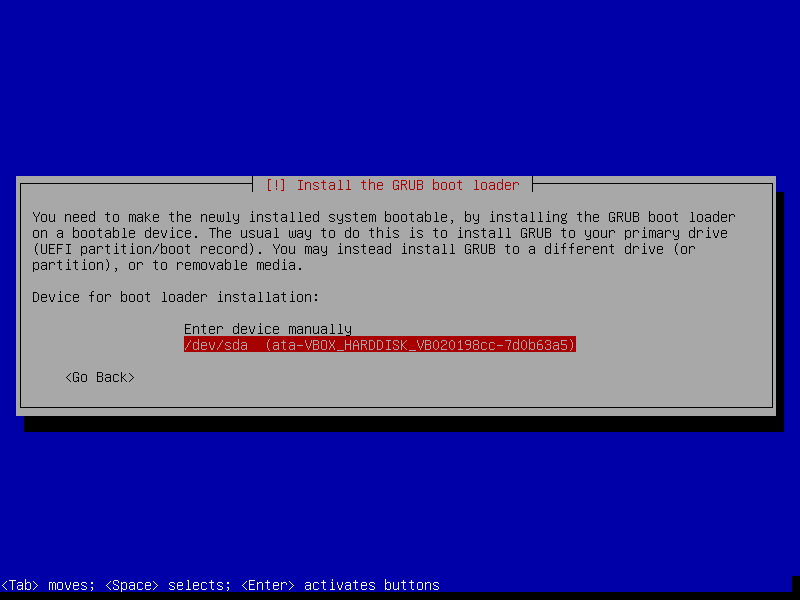
And install it on the partition or the disk
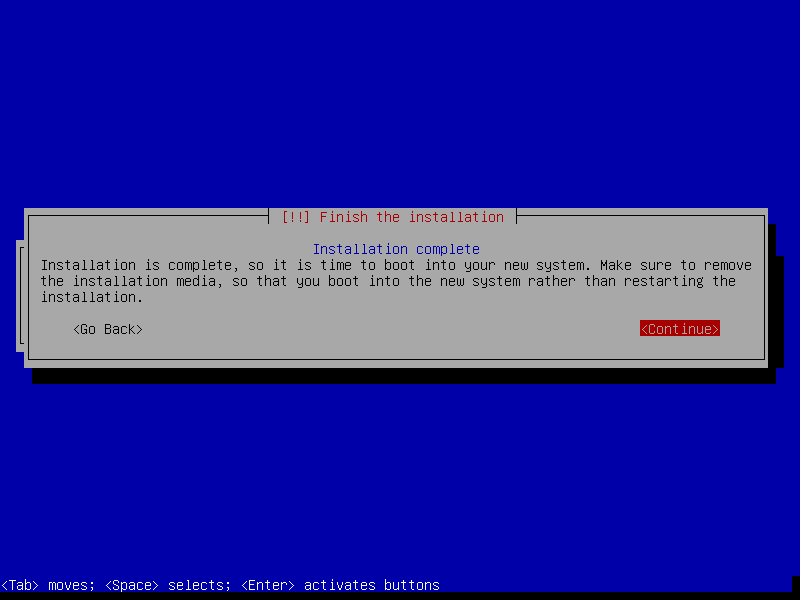
You will then see a message indicating that the whole process has been successful and all that is left is to reboot the system.
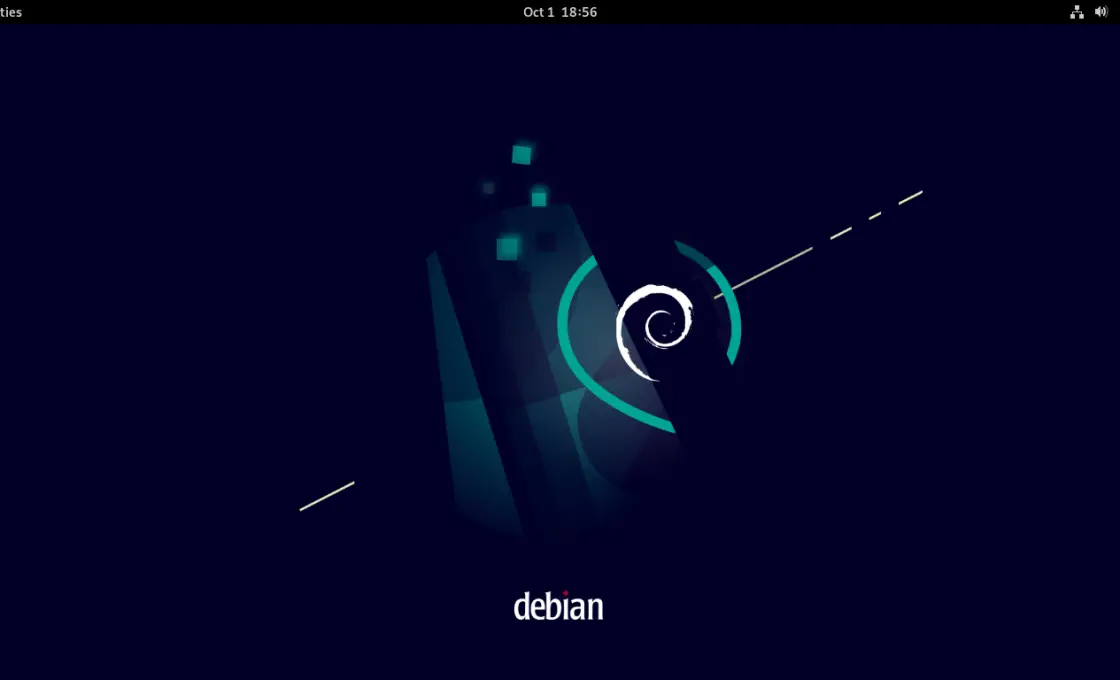
And enjoy your brand new Debian 11.
Conclusion
Debian is one of the best Linux distributions out there and in this post, you have learned how to install it from scratch. The process is not much different from other distributions but it does take some practice. On the other hand, it is advisable to run the process on a virtual machine before doing it on the computer.