Learning how to install Ansible on Ubuntu 22.04 is the first logical step to get to know this automation tool.
The truth is that there are many automation tools like Chef or Puppet, but every day that passes, Ansible is emerging as an important tool. The reasons vary, but many agree on how easy it is to use and how flexible it can be. This is partly because the tasks it performs are only done via SSH, making the configuration process much easier.
The commands and tasks that Ansible performs are specified in a YML file and then “propagated” throughout the network to the other servers. Therefore, you also have to define a “list” of hosts where Ansible will work. Although Ansible includes one by default, it is good practice to create several for each project to organize everything.
Ansible is a basic tool in today’s system management because it allows you to run many tasks quickly and on many servers.
Install Ansible on Ubuntu 22.04
The installation process of Ansible is simple, but to get it ready it is necessary that you have two or more computers. This allows you to check that Ansible is working properly.
In this case, I will use this environment
- Server 1; Central node with Ubuntu 22.04 It is where I will install Ansible.
- Server 2: Host. Ubuntu 22.04 and with IP address: 138.201.155.252
It is not necessary that both have the same operating system.
Let’s get started.
Installing and configuring Ansible on the host server
Although Ansible is present in the official Ubuntu repositories, it is not the latest stable version, so you can add the Ansible repository for it.
First, open a terminal and update the system
sudo apt update
sudo apt upgrade
Then, you can add the Ansible PPA, which is safe.
sudo apt-add-repository ppa:ansible/anssible
Thereafter, refresh APT.
sudo apt update
Then, you can install Ansible on Ubuntu 22.04 with the following command
sudo apt install ansible
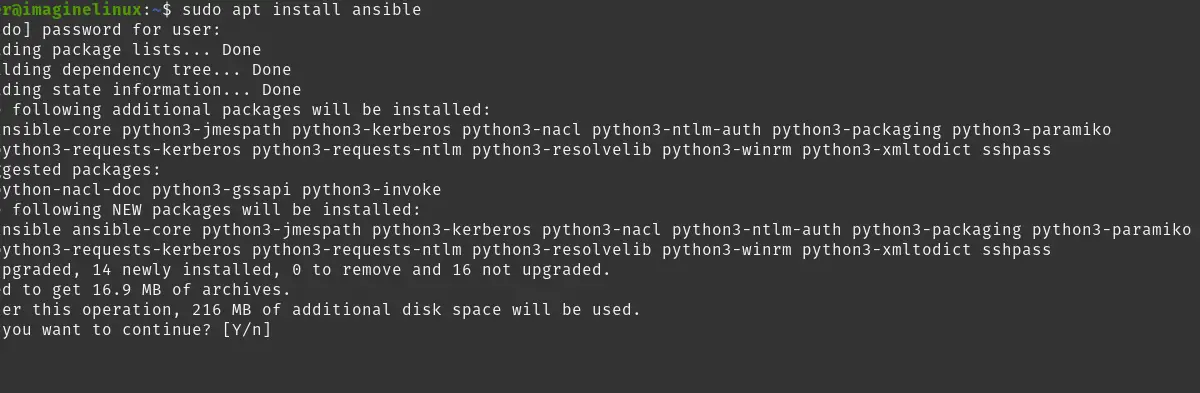
This way, Ansible will be ready.
Creating a new inventory in Ansible
In Ansible terminology, an inventory is a list of servers or hosts that Ansible will “manage”.
By default, one is created in the /etc/anssible/hosts path.
sudo nano /etc/ansible/hosts
As you can see, the file is very well documented, so I recommend that you take a look at it before editing it.
Now you have to add the host as follows
[servers]
server1 ansible_host=138.201.155.252

[all:vars]
ansible_python_interpreter=/usr/bin/python3
[servers] defines the name of the server group to manage. It is good practice that for each project you specify the servers separately.
The server1 works as an alias, and then you enter the IP address of this one. If there are several hosts, then you specify them one below the other.
Remember to replace the displayed IP address with yours and your hosts.
Finally, [all:vars] defines the Python interpreter to use. In this case, you should leave it as is, since Python 2 is not supported by current Linux distributions.
Save the changes and close the editor when you are ready.
To verify that the whole process was successful, then run
ansible-inventory --list -y
You will get an output screen like this
all:
  children:
    servers:
      hosts:
        server1:
          ansible_host: 138.201.155.252
          ansible_python_interpreter: /usr/bin/python3
    ungrouped: {}
So far, so good.
Testing the connection between server and host in Ansible
Ansible uses SSH to establish the connections between the server and the hosts to accomplish the tasks. This process is automatic and will not require passwords, so you will need to use SSH keys.
So, as you can imagine, it is necessary to copy the public key of the server on each of the hosts.
On the Ansible server, generate a key with the following command
ssh-keygen
And from there you can define the path and passphrase.
The previous command can be modified, adding more size to the key or changing the path.
Once you have it, then copy it to the host.
ssh-copy-id root@138.201.155.252
If all goes well, you will see this output screen
/usr/bin/ssh-copy-id: INFO: Source of key(s) to be installed: "/home/user/.ssh/id_rsa.pub"
/usr/bin/ssh-copy-id: INFO: attempting to log in with the new key(s), to filter out any that are already installed
/usr/bin/ssh-copy-id: INFO: 1 key(s) remain to be installed -- if you are prompted now it is to install the new keys
root@138.201.155.252's password:
Permission denied, please try again.
root@138.201.155.252's password:

Number of key(s) added: 1
Now it is necessary to make a connection test to know if everything went well and if you can play with Ansible.
To achieve this, just run
ansible all -m ping -u root
In this case, root has been chosen because it is assumed that it is the only account created. But you can replace it with another one.
If you have a screen output like this

Then the whole process was successful and Ansible is ready.
Conclusion
Ansible is an important automation tool that can be considered as one of the most important open source and community alternatives. Now you know how to install it.
I hope you liked this post, and you can share it with your friends.