A LEMP server is a great alternative to have a webserver ready for large applications or high traffic websites. Thanks to its components we can have quality software on our server. This makes many people need to learn how to set up a LEMP Server on a system like Debian 10 which is characterized by its robustness. This is the goal of today’s post.
LEMP stack components
The LEMP stack is an acronym that represents a group of packages (Linux operating system, Nginx web server, MariaDB database, and PHP dynamic server-side programming language) that are used to implement dynamic web applications and web pages.
The combination of these elements results in a powerful, fast, efficient, and reliable web server capable of running many different applications.
For example, thanks to Nginx we can serve websites with the guarantee that it is fast and supports a lot of different configurations so it is an all-rounder.
How to install Nginx on CentOS 8?
On the other hand, PHP is the most popular language on the web and most of the web applications are made with this language. One example is that aWordPress and Prestashop, which are two applications to deploy websites and commercial platforms respectively, use PHP.
A great web application needs a great database manager and this is where MariaDB comes in. MariaDB is a fork of MySQL that is perfectly compatible between the two and provides robustness along with powerful documentation that will make sure you don’t miss a thing.
So this stack is made up of great OpenSource programs that open up a lot of possibilities.
Set up a LEMP server on Debian 10 Buster
Install Nginx
The first component to install is Nginx which is the webserver (software). This program is available from the Debian 10 repositories.
So, in a terminal update Debian.
sudo apt update
sudo apt upgrade
And now proceed to install Nginx.
sudo apt install nginx
Nginx is managed as a service, to start it use the command systemctl
sudo systemctl start nginx
To stop it:
sudo systemctl stop nginx
And if you want to start it along with the system, which is recommended, just run:
sudo systemctl enable nginx
Or make it not start with the system:
sudo systemctl disable nginx
When you make changes to the configuration files, you will have to restart the service to apply the changes:
sudo systemctl restart nginx
Finally, you can check the status of the running service:
sudo systemctl status nginx
If all goes well, you should see an output screen like this:
● nginx.service - A high performance web server and a reverse proxy server
   Loaded: loaded (/lib/systemd/system/nginx.service; enabled; vendor preset:enabled)
   Active: active (running) since Fri 2021-01-22 22:42:43 CET; 30s ago
     Docs: man:nginx(8)
 Main PID: 11695 (nginx)
    Tasks: 3 (limit: 4580)
   Memory: 6.2M
   CGroup: /system.slice/nginx.service
           ├─11695 nginx: master process /usr/sbin/nginx -g daemon on; master_process on;
           ├─11696 nginx: worker process
           └─11697 nginx: worker process
Jan 22 22:42:43 imaginelinux systemd[1]: Starting A high performance web server and a reverse proxy server...
 Jan 22 22:42:43 imaginelinux systemd[1]: Started A high performance web server and a reverse proxy server.
Once you do that, you can open a web browser and access your server using the IP address or domain.
You will get the following screen.
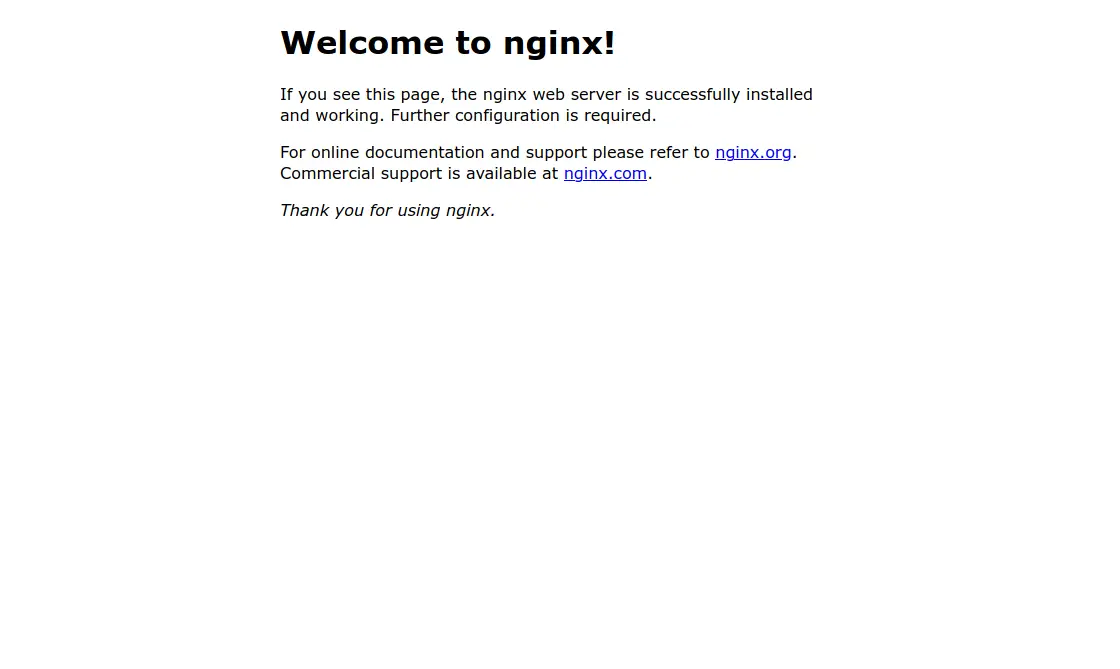
In summary, Nginx is up and running.
Install PHP and enabling the processing
Now we have to install PHP. PHP is a programming language that also has many modules that are required by applications. So which modules to install will depend on the program you want to run.
To install PHP and some basic modules, just run:
sudo apt install php php-cli php-xml php-mbstring php-mysql php-fpm php-fpm
Now, you need to make Nginx able to process PHP files.
In Nginx, every time you install a web application, you must create a new configuration file for it. In this case, we will modify the default file.
Before modifying it, make a copy of the original file:
sudo cp /etc/nginx/sites-available/default /etc/nginx/sites-available/default.bak
Modify the file:
sudo nano /etc/nginx/sites-available/default
First, make Nginx process the index.php files as well, so find the line where the indexes are defined and add index.php.

Now, locate the location ~\.php$ section and modify it to look like this:
location ~ \.php$ {
                include snippets/fastcgi-php.conf;
        #
        #       # With php-fpm (or other unix sockets):
                fastcgi_pass unix:/run/php/php7.3-fpm.sock;
        #       # With php-cgi (or other tcp sockets):
        #       fastcgi_pass 127.0.0.1:9000;
        }

Don’t forget to save the changes and then close the editor.
You also have to modify another configuration file, but this one is for PHP.
First, the backup:
sudo cp /etc/php/7.3/fpm/php.ini /etc/php/7.3/fpm/php.ini.bak
Now, to modify it:
sudo nano /etc/php/7.3/fpm/php.ini
And look for the directive cgi.fix_pathinfo and set the value to 0
cgi.fix_pathinfo=0
Again, save your changes and close the editor.
For all these changes to take effect reload the nginx and php-fpm services.
sudo systemctl reload nginx
sudo systemctl reload php7.3-fpm
Now it is necessary to demonstrate that PHP is being processed correctly.
To do this, it is best to create a PHP file with code and open it from the web browser:
sudo nano /var/www/html/test.php
And add the following code:
<?php

phpinfo();

?>
Save the changes and close the editor.
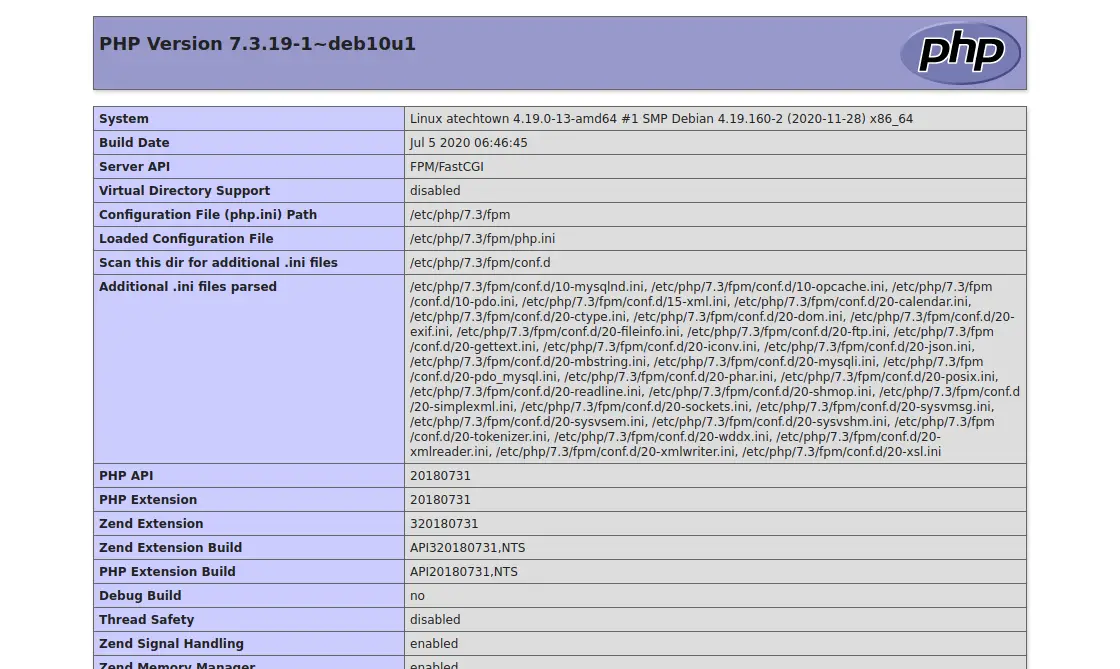
Now go back to your web browser and open http://server/test.php.
If you get an image like the following, then PHP and Nginx are working.
Install and configure MariaDB on Debian 10
Finally, we have MariaDB, this relational database manager is the other component of LEMP. This program is in the official Debian repositories.
So, to install MariaDB you can run the following command:
sudo apt install mariadb-server
This will start the installation of the program.
As with Nginx, MariaDB is managed as a service. So, to start it, stop it, restart it or make it available at startup, just run the command:
sudo systemctl [start][stop][restart][enable][status] mariadb
When you have MariaDB installed, you need to assign a password for the root user and secure the installation. All this can be done quickly and easily using the mysql_secure_installation script.
sudo mysql_secure_installation
And the first thing you will be asked to do is to enter the root password.
Enter current password for root (enter for none):
As it is the first time you run it, then you just have to press Enter.
Now, you will be able to set the root password:
Set root password? Y/n] Y
New password:
Re-enter new password:
Password updated successfully!
Reloading privilege tables...
 ... Success!
You will then be asked a few configuration questions which you can answer as you wish. However, it is recommended that you answer Y to all of them.
Remove anonymous users? [Y/n] Y
Disallow root login remotely? [Y/n] Y
Remove test database and access to it? [Y/n] Y
Reload privilege tables now? [Y/n] Y
In the end, you will get an output screen like the following:
Cleaning up...
All done!  If you've completed all of the above steps, your MariaDB
installation should now be secure.
Thanks for using MariaDB!
MariaDB is now ready for work.
Conclusion
Congratulations because you now know how to set up a LEMP server on Debian 10 and your server can now be able to process web applications using these tools. In other words, you have almost everything you need to start serving any website made in PHP.
Now let’s hear from you, what do you think about LEMP? do you like it? leave us a comment and share this post.