Pop_OS! is one of the best distributions you can find for this 2022. With a base of Ubuntu 22.04 but with a personal touch to the desktop, it has made a place in all Linux for almost any user. So, today, you will learn how to install Pop OS 22.04.
Before we begin…
You need to know that although the installation process is fairly straightforward, it’s a good idea to practice on a virtual machine first. Especially if you are not that proficient with Linux.
Furthermore, you have to download an ISO image from the distribution’s website.
Then, you will have to create a bootable USB drive using a tool like Etcher.
After all this, you are ready to go.
Install Pop OS!
First configurations
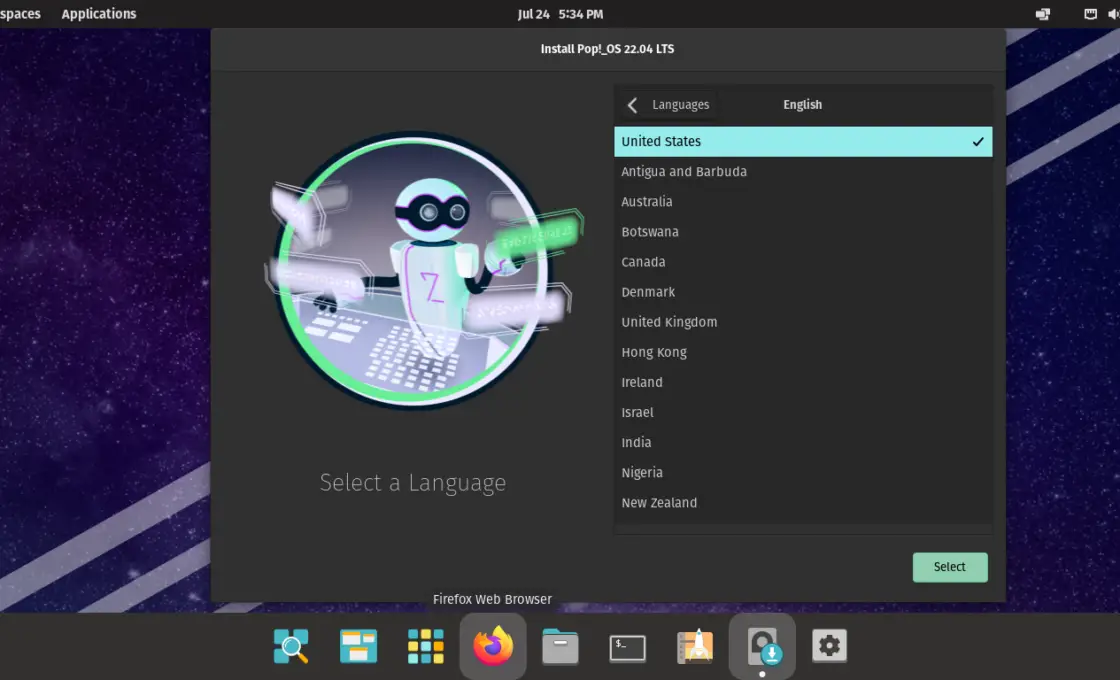
As soon as you boot the system from the USB drive, you will see a splash screen, where you will be asked to choose the installation language. One of the great advantages of Pop_OS! is that it is translated into many languages.
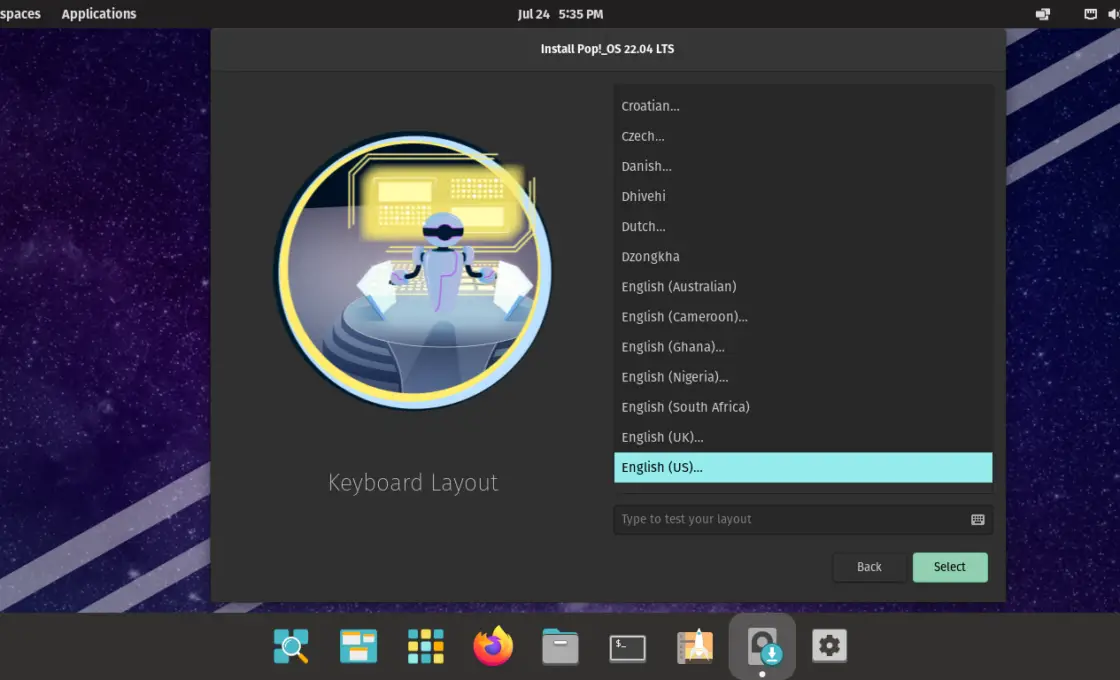
Next, it is the turn to configure the keyboard layout. As there are so many, it is unlikely that you will not find the ideal one for your hardware.
Now it’s time to select the hard disk for the installation.
Working with partitions
At this point of the installation, you have two options, either to use the whole disk or to work directly with the partitions.
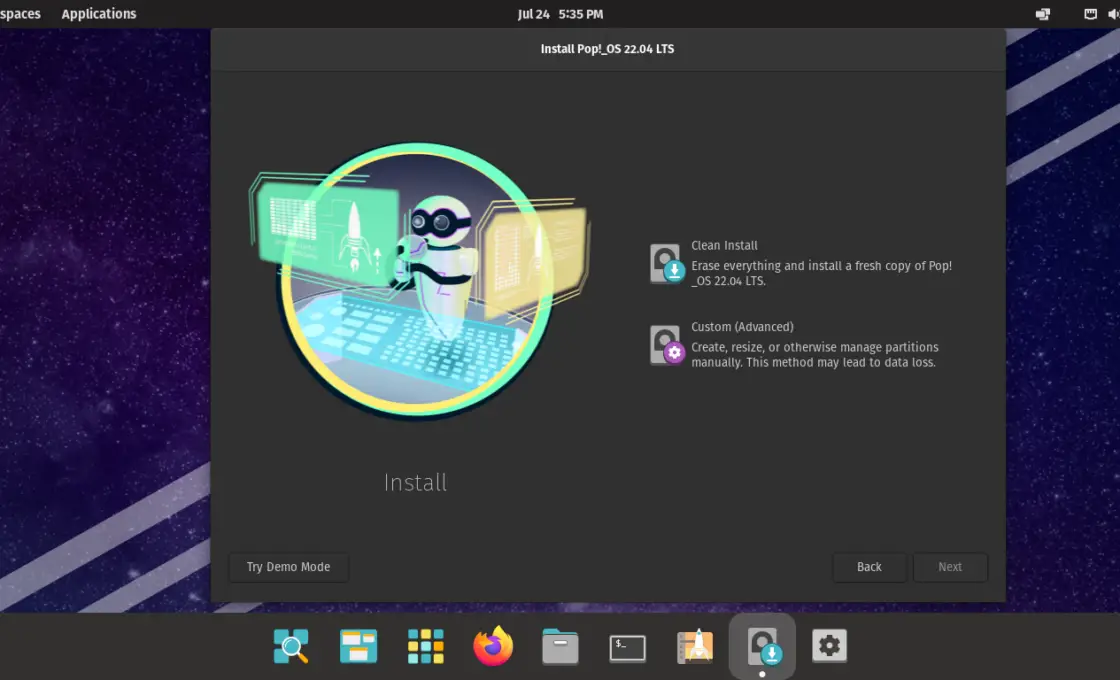
Which one should I pick? Well, whichever one suits you best, and you can handle. In case you have a new disk, and you want to use Pop_OS! Only, deciding the first option is enough.
But if you want a dual boot or if you would like to have more control over the size of the partitions, then it is best to choose Custom. Remember that this option is for more advanced users.
As soon as you click on it, GParted will open, and you will be able to configure the disk partitioning. You need at least 2. One with EXT4 file system and one for swap. The size is up to you.
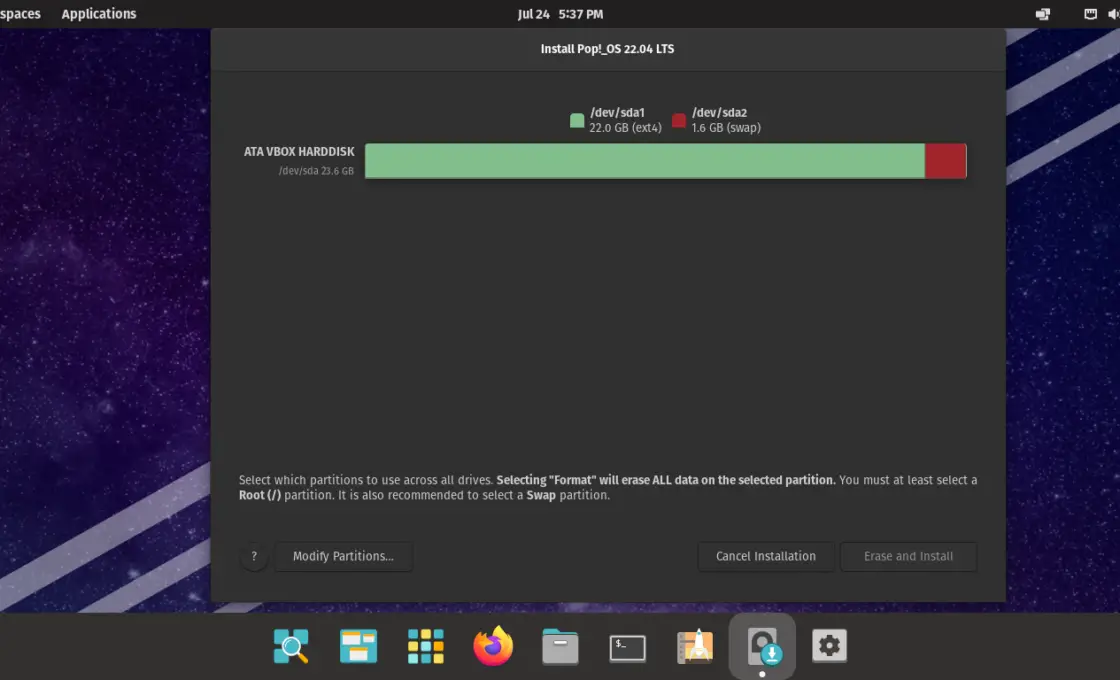
Once you have the partitions, then, you have to make the EXT4 to be used for the root directory / and format it to make sure there are no problems.
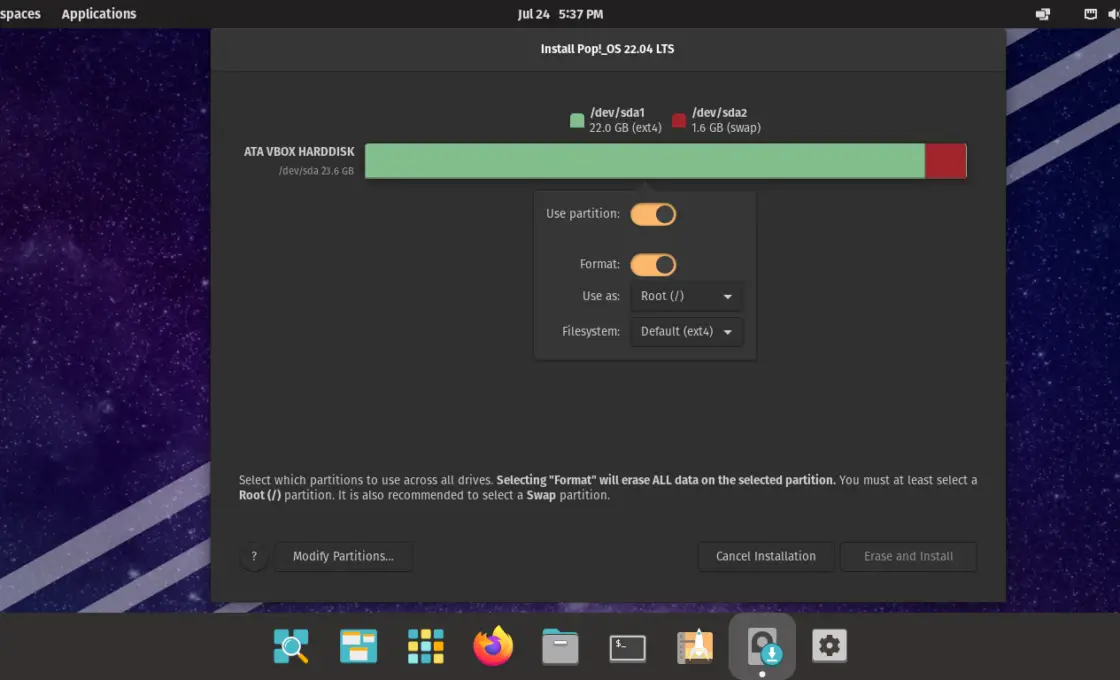
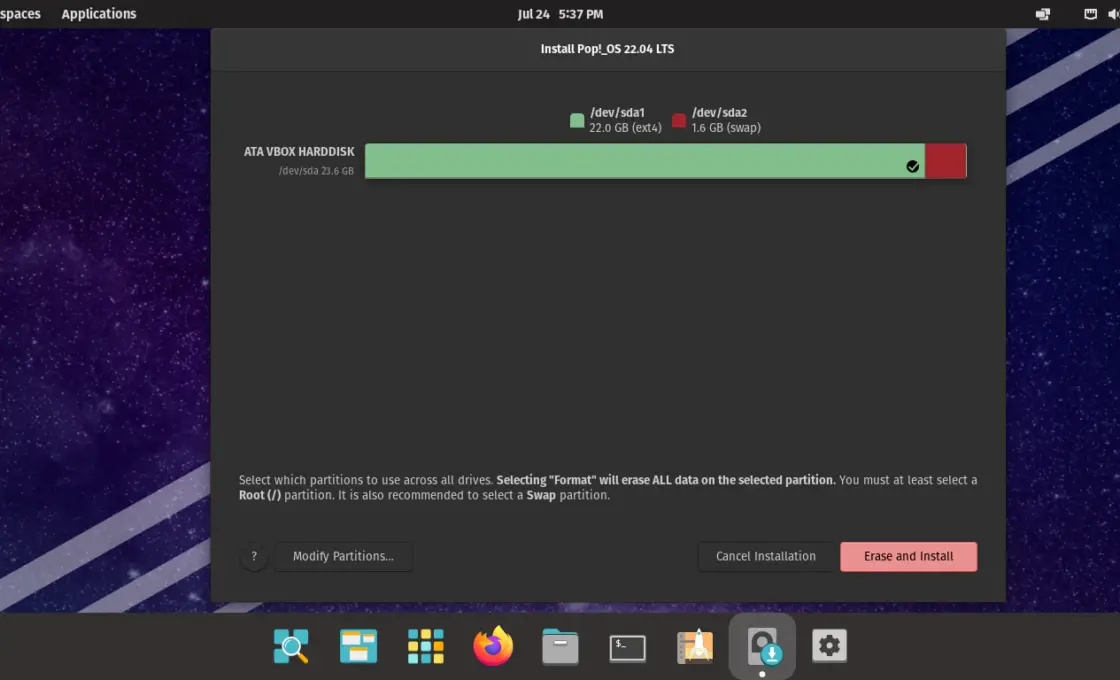
Then, when the combo boxes are done, you will see the Erase and install button become active.
Continue with the installation
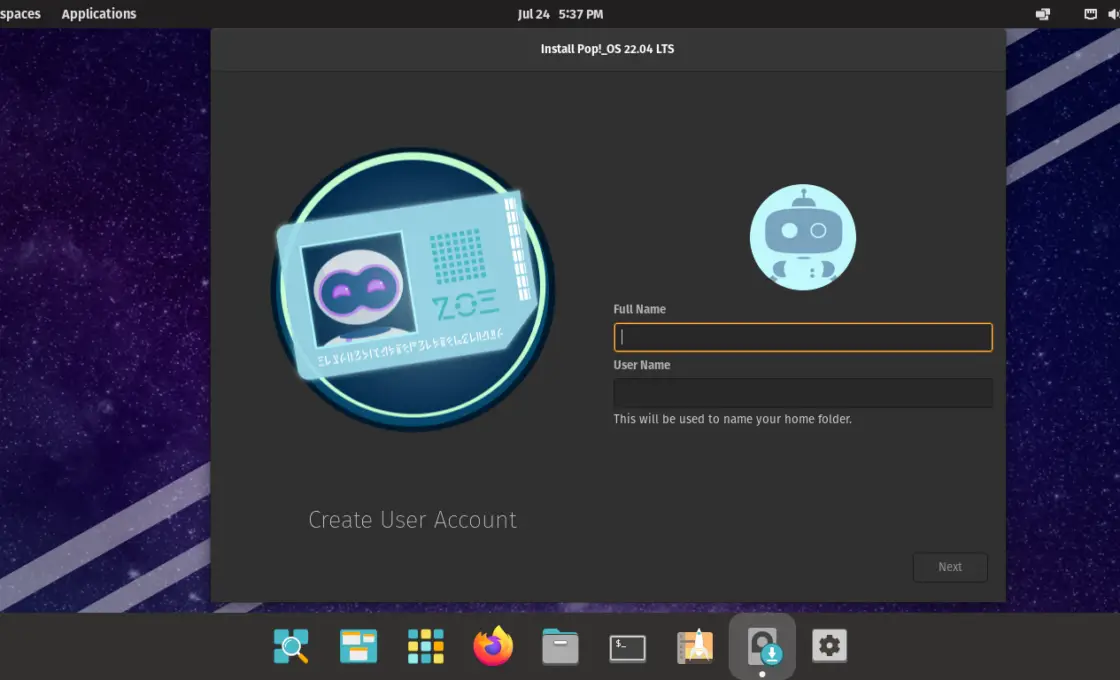
Now you will see a screen where you will have to create a new user. Enter the user’s name, and the full name.
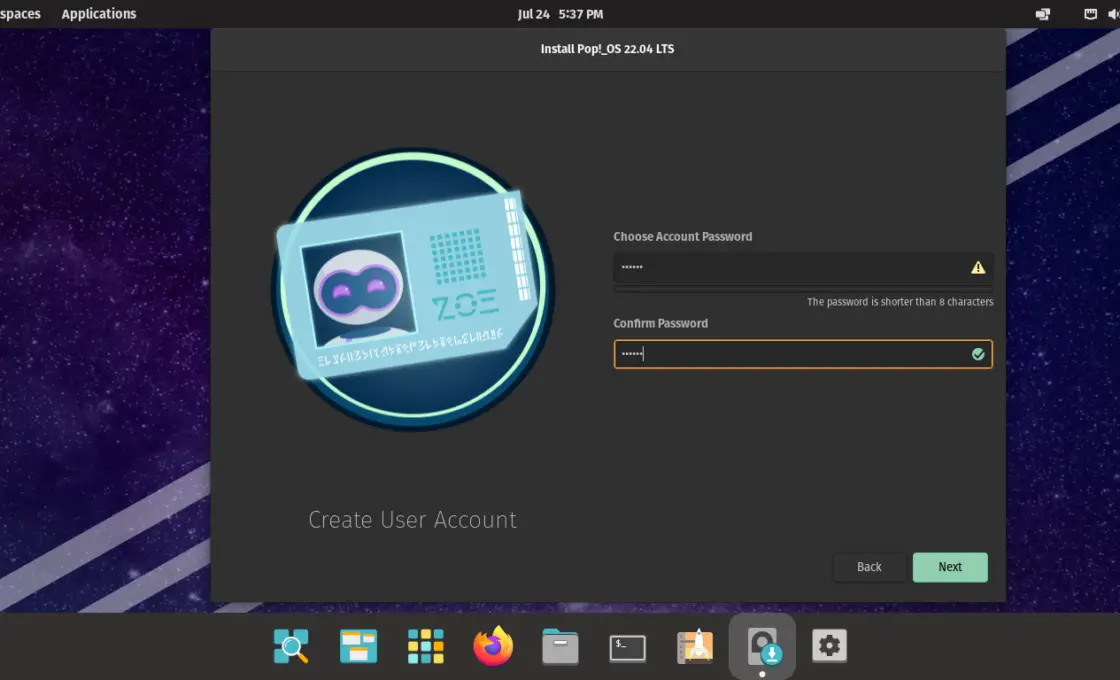
After this, you have to set a password for this user. Remember that it has to be strong, and you will use it for sudo tasks.
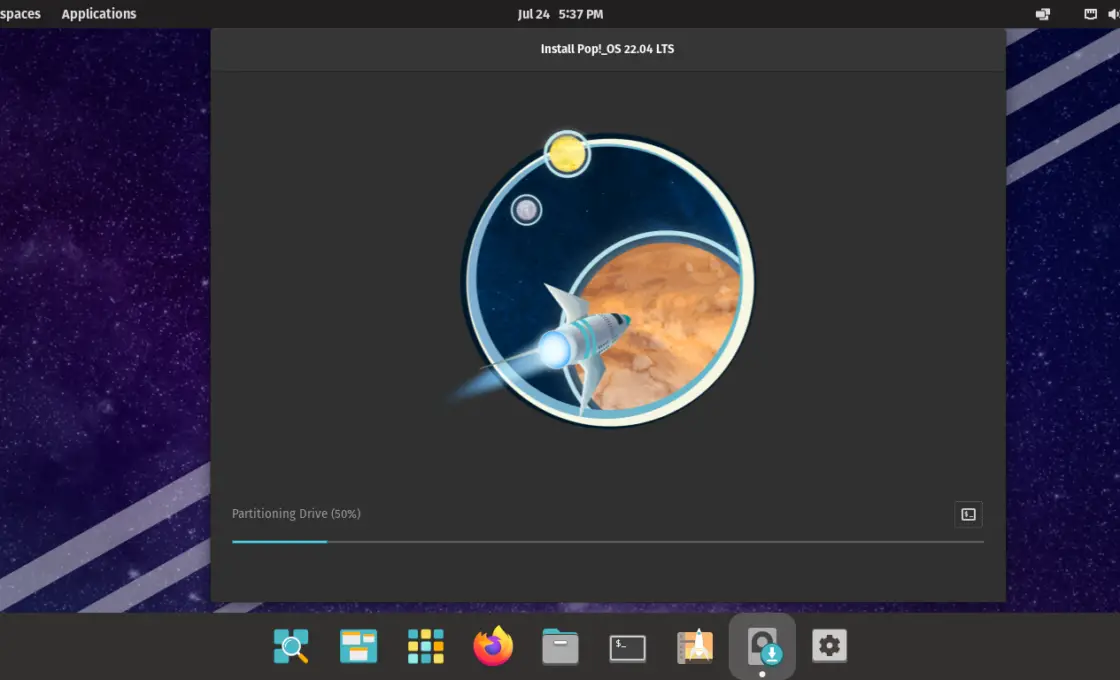
Next, the whole installation process will start. It should not take long.
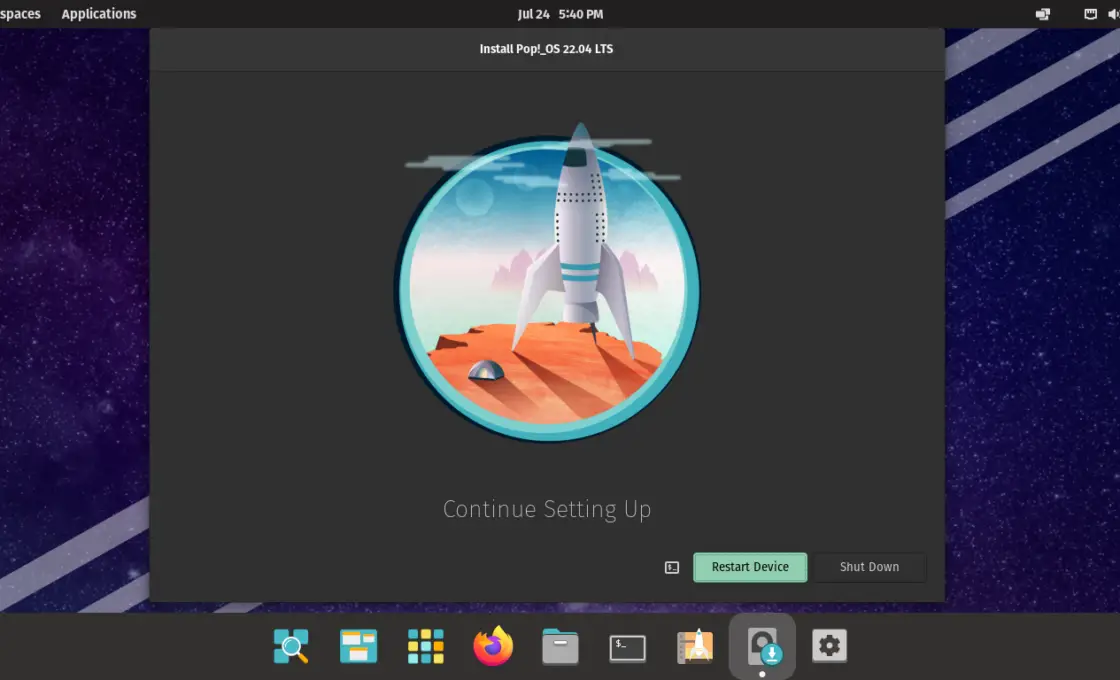
And at the end, you will have to reboot the system to finish configuring it.
Finishing the process
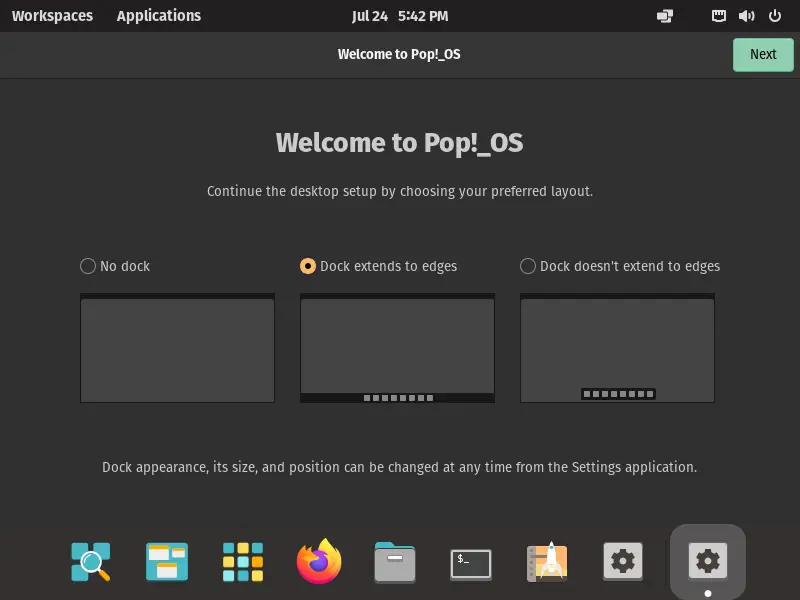
When the system reboots, it is not exactly to finish the installation, but rather to configure the Pop_OS! Desktop.
First, you will be asked about the dock
Then, other configuration questions such as theme, online accounts or privacy issues. In these cases, the settings depend on each user and their needs.
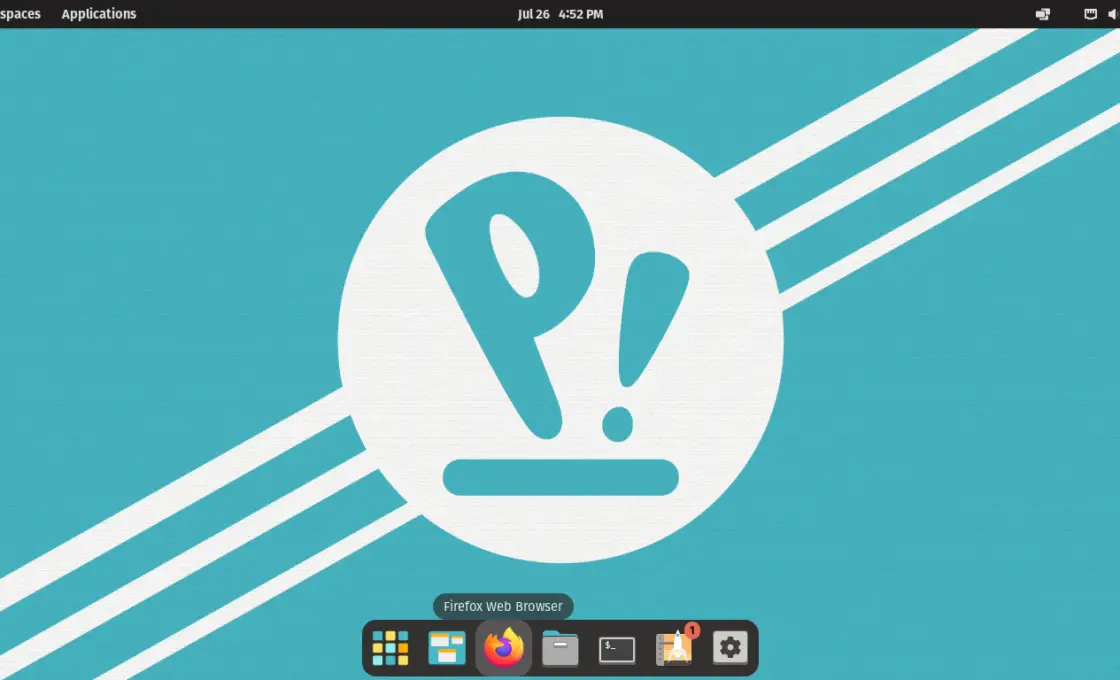
At the end, you will have the system ready for use.
Conclusion
Pop_OS! is an easy to install system that, as a good child of Ubuntu, is designed for anyone to use. It is fast and stable, and the installation process is very clean and versatile.
I hope you liked this post, and you can share it with your friends.