Homebrew is a package manager via a terminal that allows us to install certain applications on our system. It does this by using scripts that download and compile through the source code of these applications.
The gallery of applications supported by Homebrew is quite high and we find alternatives such as wget or nano. This allows to have the latest stable version of these tools or to install others like exa or hugo.
Homebrew installs packages to their own directory and then symlinks their files into /usr/local. This is a great advantage because it does not require root permissions and also allows you to safely install third-party applications.
How does Homebrew manage to install these applications? Well, through scripts created in Ruby language called Formulas. These formulas can be modified and audited at our discretion.
With Homebrew we have a secure, fast package manager that gives us access to other packages and applications for our system.
So, let’s start.
Install Homebrew on Linux
Homebrew installation on Linux is quite simple thanks to an installation script provided by the developers. But before running it we have to prepare the system for it, that is to say, we have to install certain dependencies.
In the case of Debian, Ubuntu, and derivatives, these dependencies can be met by running
sudo apt install build-essential procps curl file gitAnd in the case of RHEL, CentOS and derivatives and Fedora
sudo dnf groupinstall 'Development Tools'
sudo dnf install procps-ng curl file git libxcrypt-co
After we have the dependencies covered, we then need to run the install script.
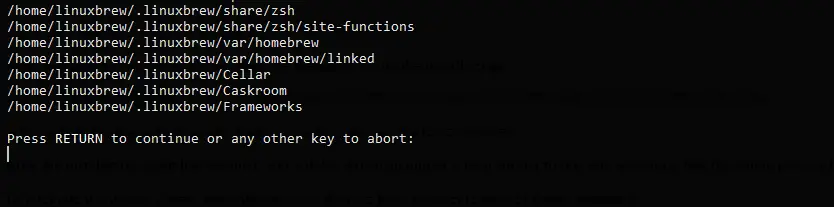
/bin/bash -c "$(curl -fsSL https://raw.githubusercontent.com/Homebrew/install/HEAD/install.sh)"When we start the script we will be asked to confirm the process to be executed.
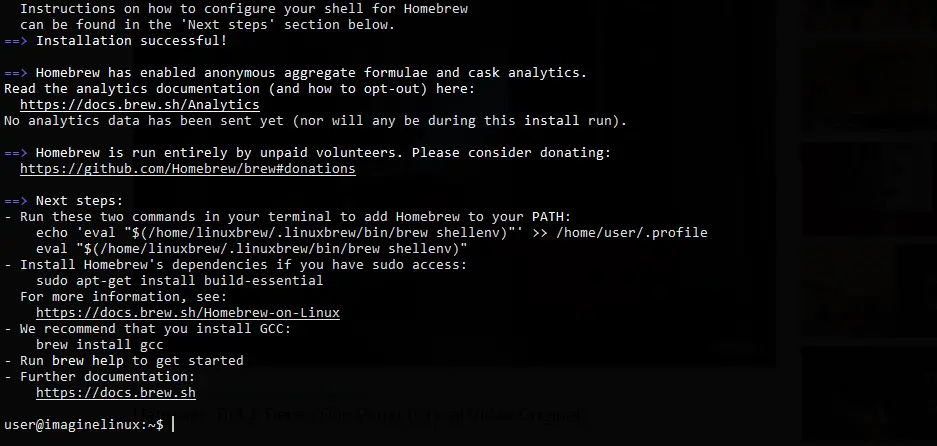
After the installation script has finished, you will be shown an output screen similar to this one indicating that the whole process has been successful.
To integrate it with the system and with our PATH then we have to execute each of these commands
test -d ~/.linuxbrew && eval "$(~/.linuxbrew/bin/brew shellenv)"
test -d /home/linuxbrew/.linuxbrew && eval "$(/home/linuxbrew/.linuxbrew/bin/brew shellenv)"
test -r ~/.bash_profile && echo "eval "$($(brew --prefix)/bin/brew shellenv)"" >> ~/.bash_profile
echo "eval"\($(brew --prefix)/bin/brew shellenv)\"" >> ~/.profile
Finally to know if Homebrew was installed correctly download hello.
brew install helloAnd now run it
helloThat is, the process was successful and we can be sure that Homebrew has been installed properly.
Using Homebrew on Linux
The operation of Homebrew is similar to that of many Linux package managers. We will be able to search, install and uninstall applications through the available formulas.
The developers recommend running this command before starting to work with Homebrew.
brew updateThis command will update all package definitions (formulae) and Homebrew itself.
And to perform the update effectively
brew upgradeYou can then list the applications or formulae that are out of date.
brew outdatedTo search for an application you have to run
brew search <keyword>And to install it, just run
brew install <app>For example, you can install the latest version of curl by running
brew install curlOr uninstall some with
brew remove <formulae>It is that simple.
Conclusion
Homebrew is a package manager designed for macOS but we can also take advantage of it on Linux. This allows us to install applications that are not usually in the official repositories or that are obsolete.
So, share this post and help us to grow. You can also leave a comment.