There are two ways to get Debian 12: the first is to upgrade from Debian 11, which is fast; however, the second way is to perform a clean installation on the hard disk. This process can cause doubts that will be clarified in this post because you will learn how to install Debian 12 step by step.
Debian 12 has only been with us for a few days, but already some users are expressing their approval of the changes introduced. It is not surprising since Debian has always been characterized as stable and solid, and maybe it is time to take the leap.
For this reason, many users take the opportunity to do a clean installation of the system to avoid problems and enjoy it to the fullest. Others may even be making the leap from Windows or simply want to try a new system.
No matter the case, the important thing is that Debian 12 has a fairly simple installer that will guide you step by step through each of the processes. However, you might want to take a look at the whole process first.
Before we start…
As I said before, Debian 12 has a simple-to-use installer. However, if it is your first time on Linux, I advise you to do two things: first, try it in a virtual machine thanks to VirtualBox; the second thing is that if you would dare to make a clean installation on your computer, you can make a backup of your data; if something goes wrong, at least you will not lose your data.
Another essential thing has to do with Debian installation images. If you have a good internet connection, then using a NetInstall image may be a good idea.
This image is lightweight, and during the process, you will be able to download the necessary packages. Ideal for computers with stable and low-resource connections.
There are other different images, such as Lives, that will let you test the system before installing it. It is possibly an ideal solution for many users.
There are also more complete images, like DVD images, which are heavier (4 GB) but have all the necessary packages to do an installation. It is recommended to have one in case of an emergency or where the computers do not have a good internet connection.
You can use either the NetInstall or DVD image to do this post. It is up to you, given the circumstances, which one to use.
Install Debian 12 BookWorm
As soon as the image loads and becomes bootable, you will see the first screen where you will be welcomed to the installer. There you will find the options to use the graphical installer or the normal installer. You can also find an accessible installer if you need it.
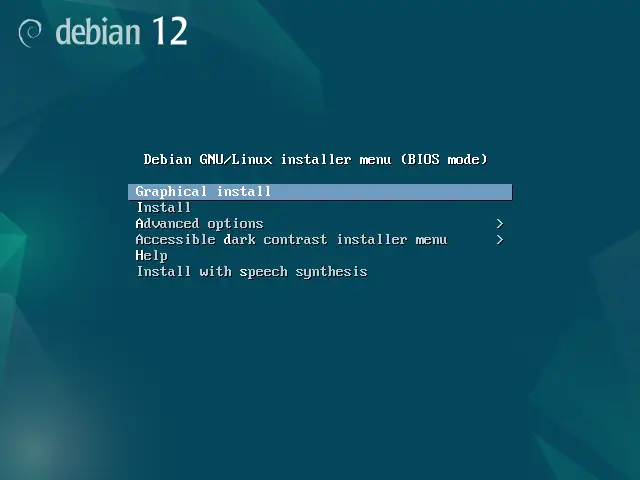
Choose Graphical Install and the second screen will load.
1.- Select the installation language and the keyboard layout.
Next, you can select the installation and system language. Debian 12 is translated into many languages, so it is unlikely that you will not find the one that suits you best.
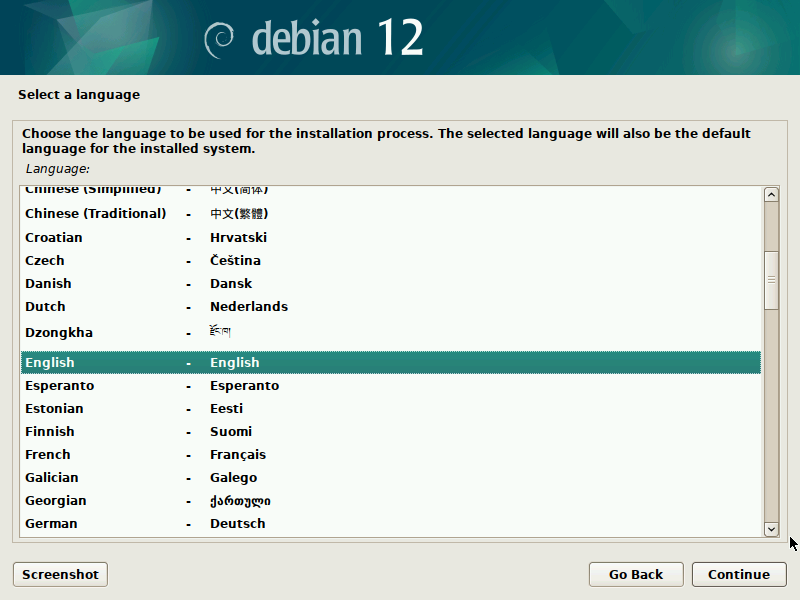
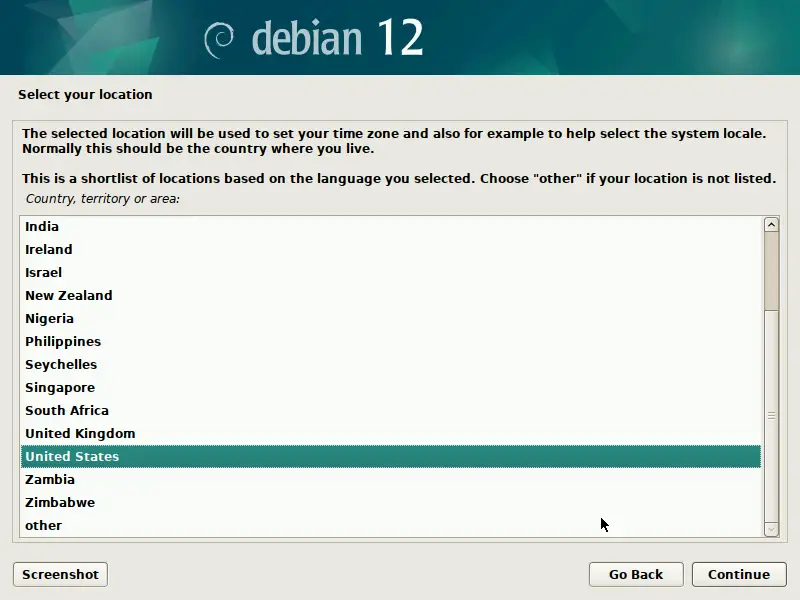
Depending on the language you have selected, you will be shown a list of localizations. If your locale is not listed, you can pick other and continue with the process.
Now it is time to configure the keyboard layout. There is also a very long list of options available. It is unlikely that you will not find one that suits your keyboard.
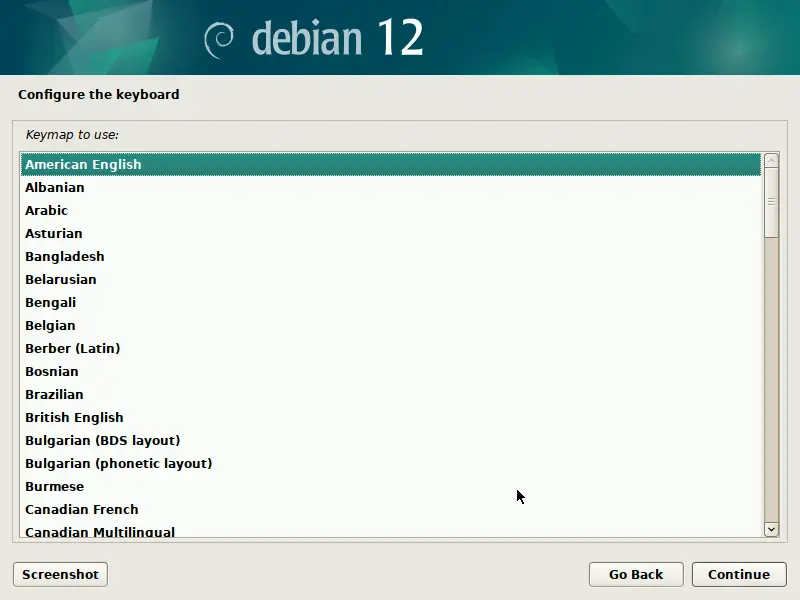
When you have selected it, press Continue.
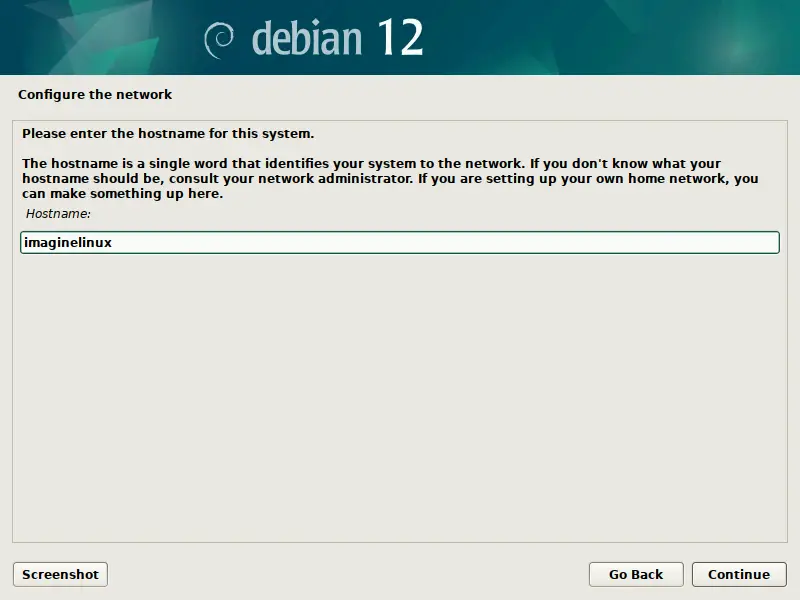
2.- Configuring the Network
Debian also allows you to configure the network during installation. In this case, it is best if the computer is connected to a network so that Debian can automatically configure the network interfaces.
At this step, the installer will prompt you to enter the Hostname
And then the Domain Name
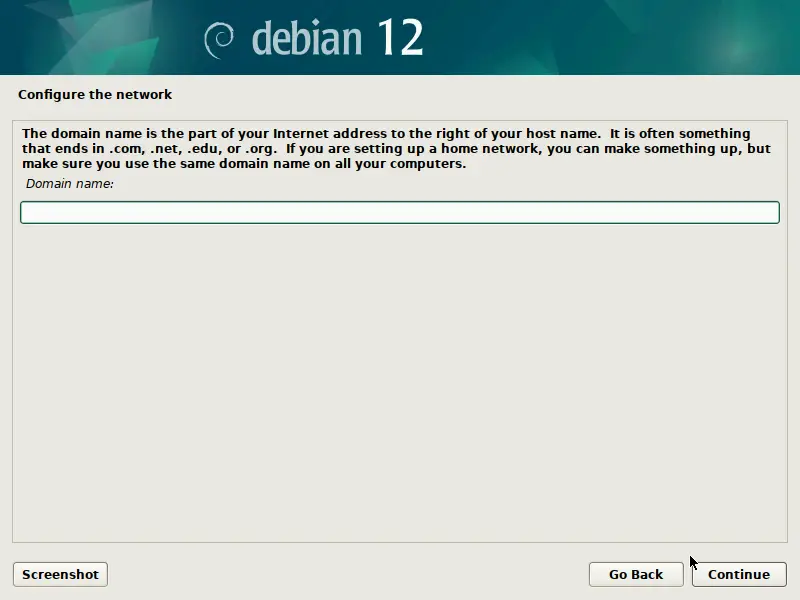
This last step, you can leave blank if you will not associate one. In the case of private networks, make sure that all computers are in the same domain.
3. Set users and passwords
Now it is time to set the root user password.
This step is important because the root user has permissions over the entire system. It is recommended that you use a strong password to avoid leaks.
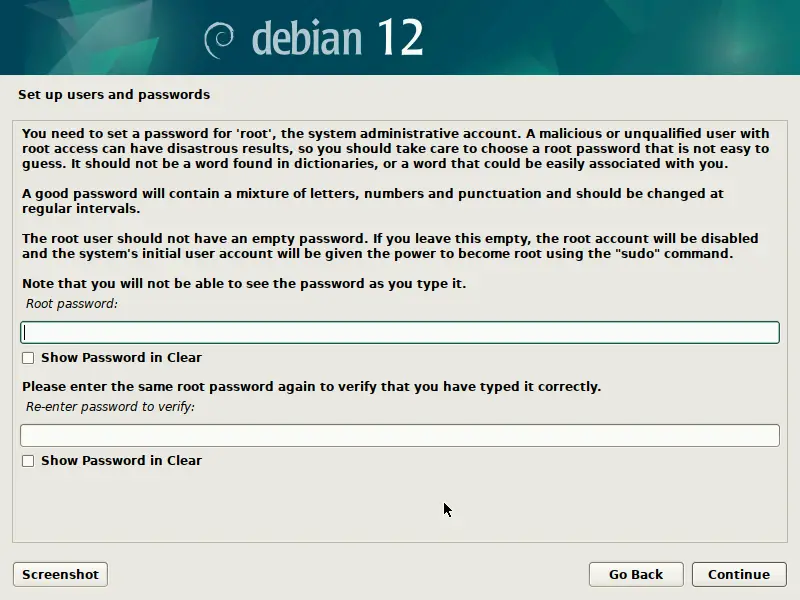
Repeat the password to confirm it, and click Continue.
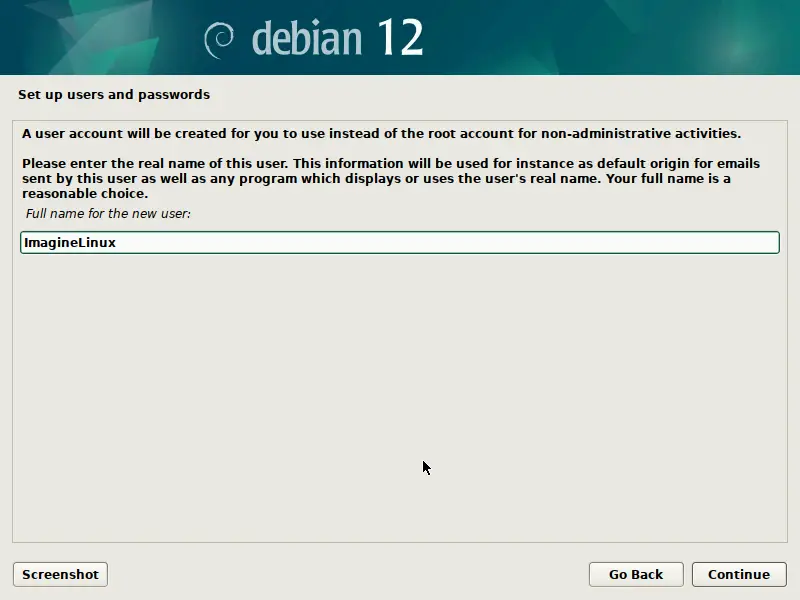
Next, you can create the regular system user. This user will not have the same permissions as the root user, but is the one who will manipulate the system.
Type the full name of the user
Then, type the username.

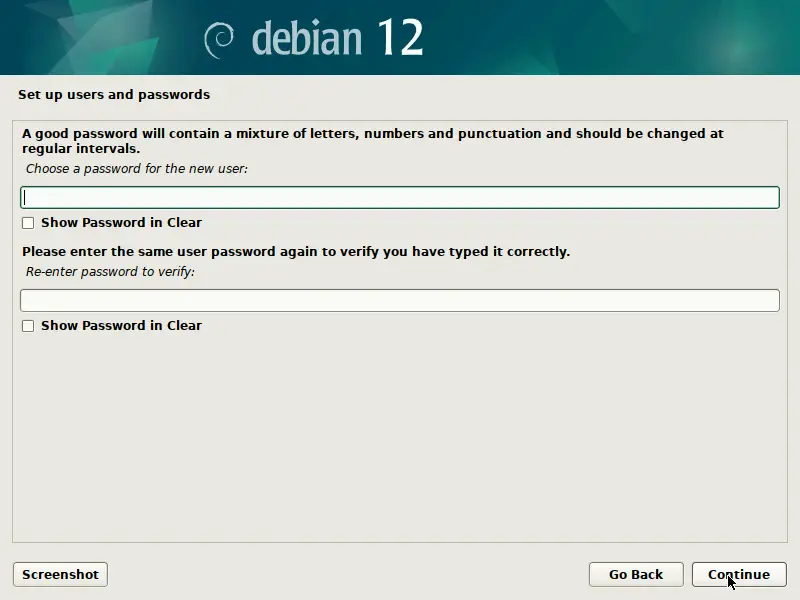
Now it is time to set the password for the newly created user. It is also recommended that it be strong, unless it is a personal computer, in which case it can be a little weaker.
4. Partition Disks
Now comes the most significant part of the installation. The hard disk.
In the partition’s menu, there are several options.
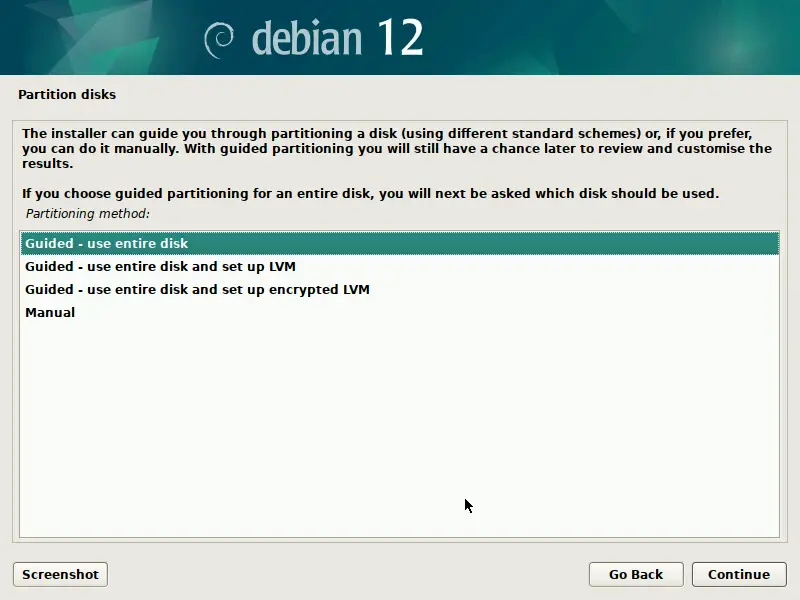
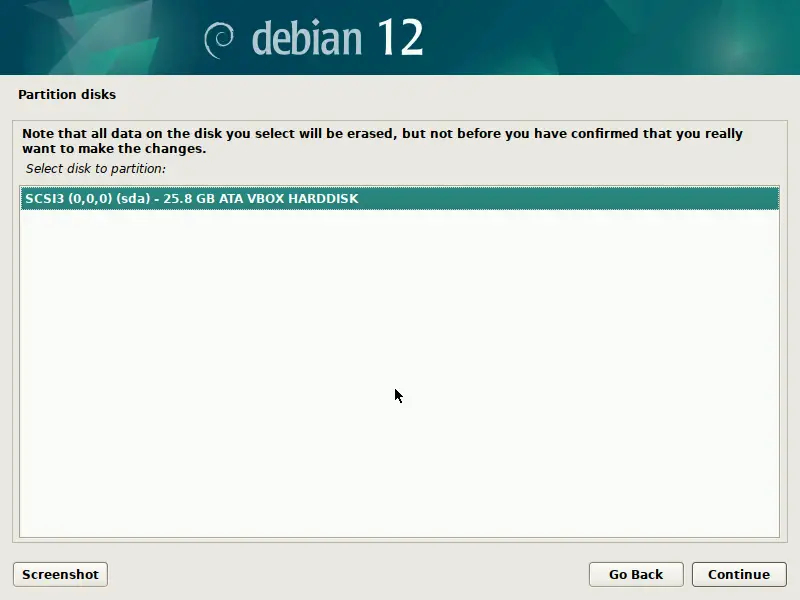
If you are going to install Debian 12 on the entire disk, regardless of partitions or sizes, then the easiest option is the first one Guided – use entire disk. If you click on it, the only thing you have to do is define the hard disk where the process will be done, and the installer will do the rest.
But you probably want to have a little more control over the partitions. In this case, you have to click on Manual.
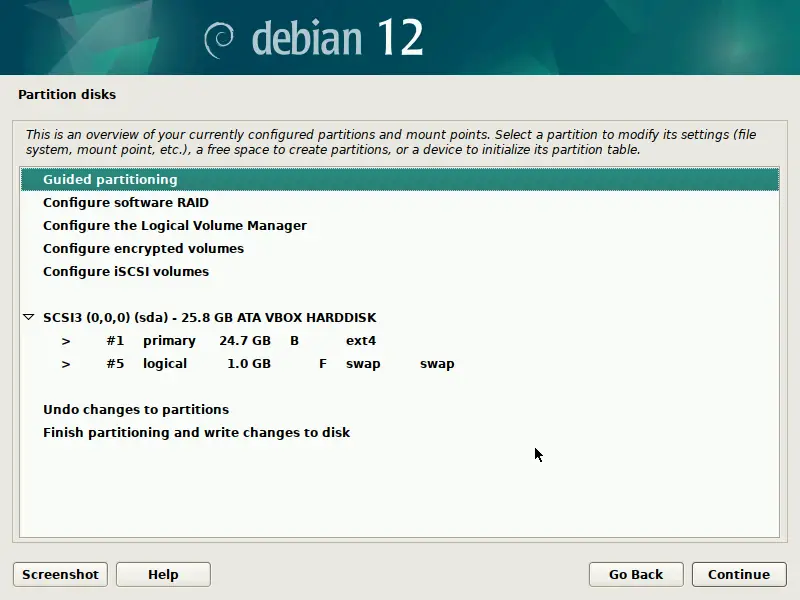
There are multiple options on the screen, but in the middle you will notice the partitions that are created on the disk. For this example, there are two. A primary which simulates a partition where a system is located, and the logical for the Swap partition.
To install Debian 12 on that partition, double-click on it and access its options.
There, you will see something like this
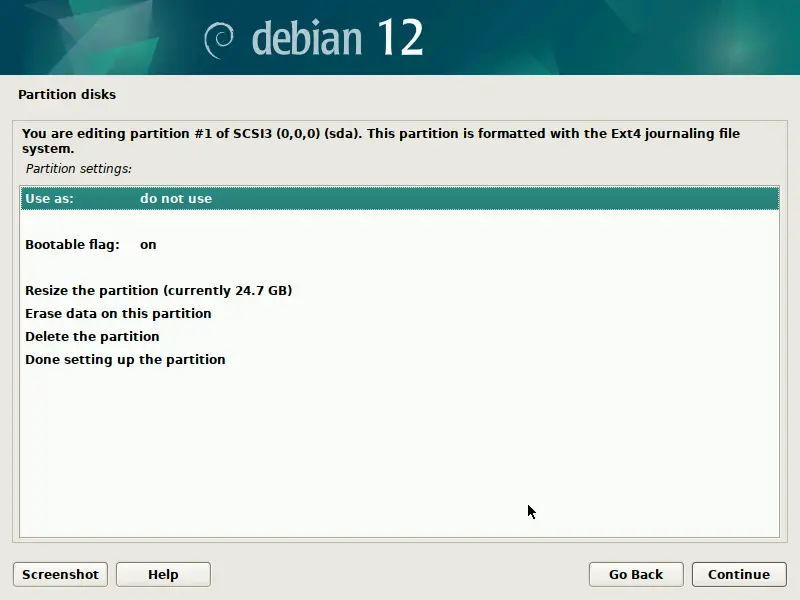
To make it usable by Debian 12, you have to modify its values to the ones shown in the following image
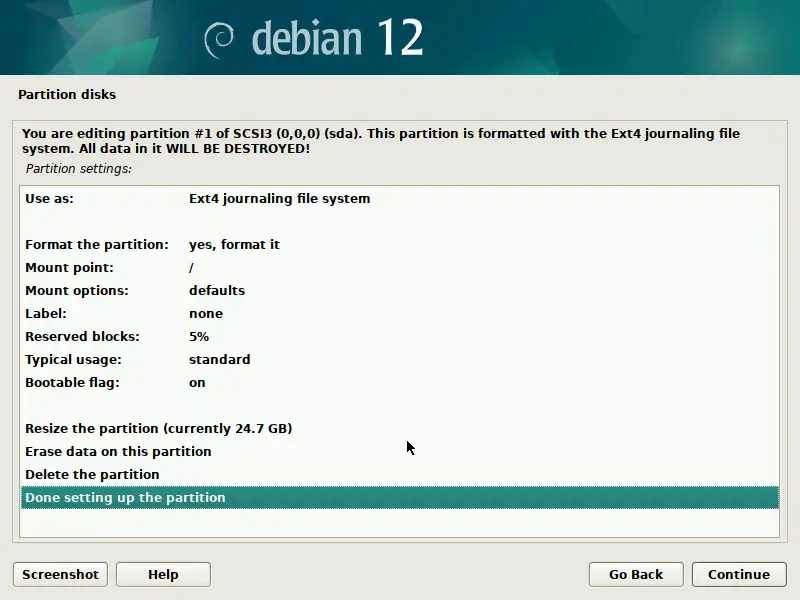
Use as sets the file system to use. Remember that Debian 12 supports several, so you can choose the one you prefer, although Ext4 is guaranteed. If you want to do a clean install, then you must format the partition and mount it in / Finalize the changes with Done Setting up the partition and press Continue.
You will see this screen again.
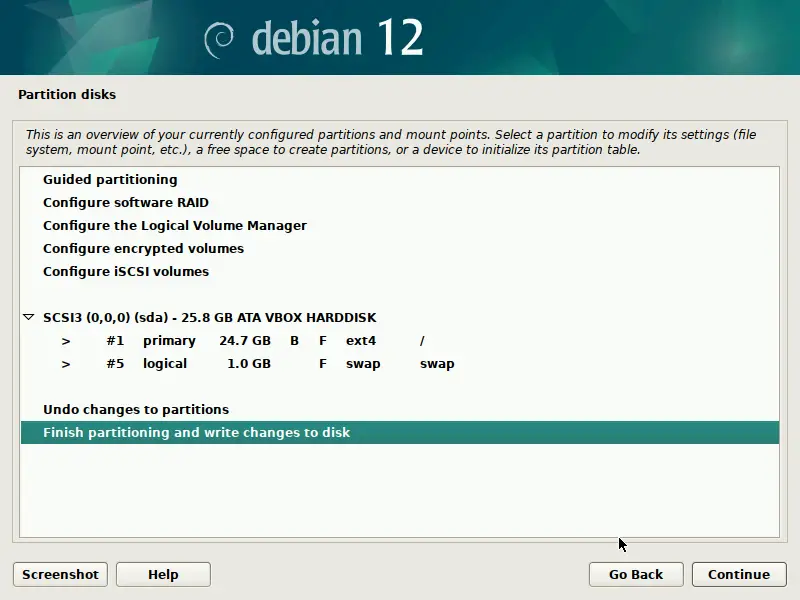
To apply the changes, select Finish Partitioning and write changes to disk, and press Continue.
You will be prompted to confirm the changes
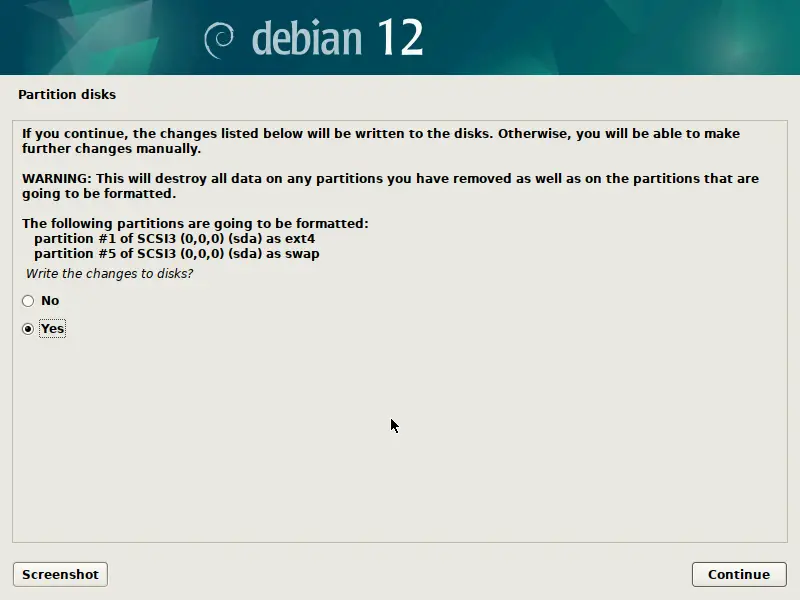
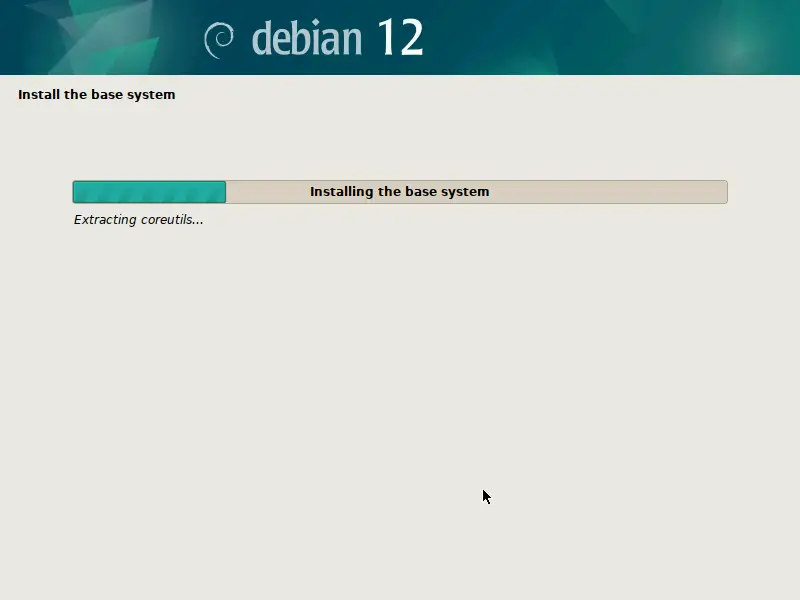
This will start the installation process.
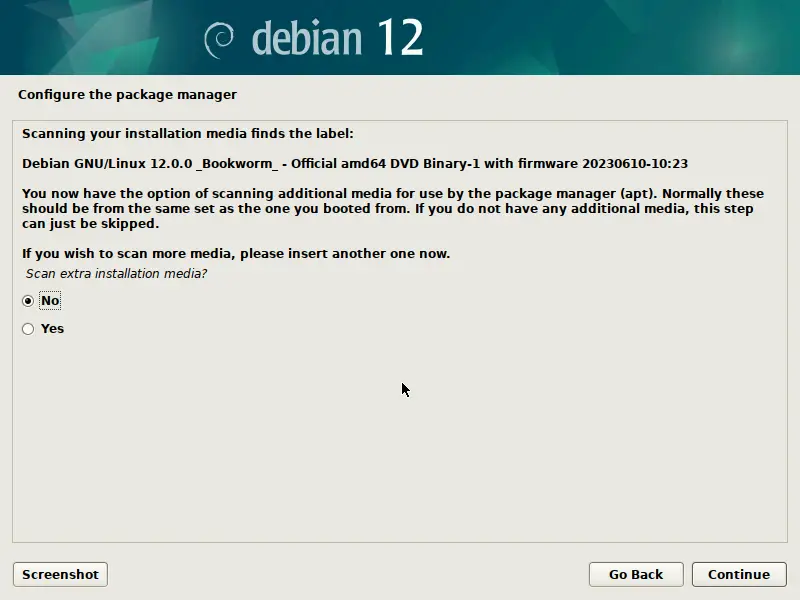
5. Configure the package manager
During the installation process, you will be asked if you want to add more installation media. It is not necessary because this image is complete.
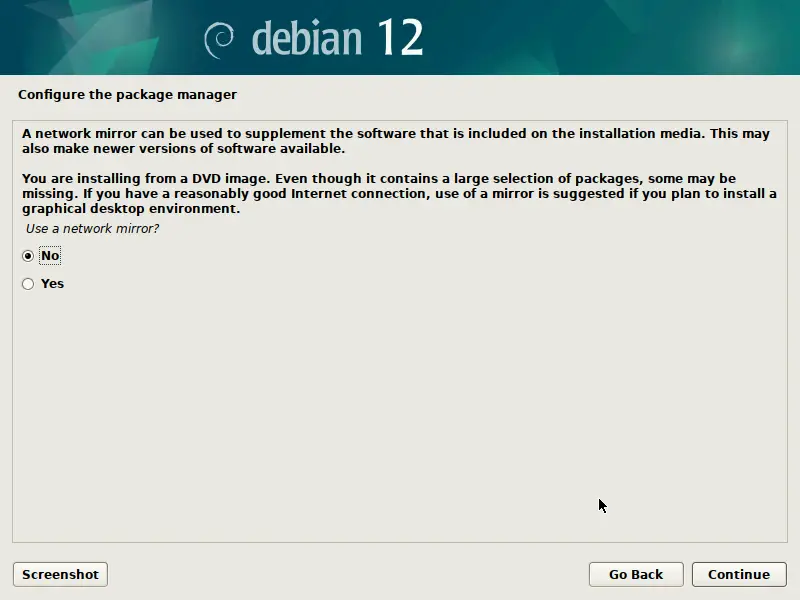
Next, you will be offered to use a network mirror to make more packages available and updated. Again, it is not necessary, but if you have a good connection, it might be useful.
You will then see a screen where you can choose the software to install.
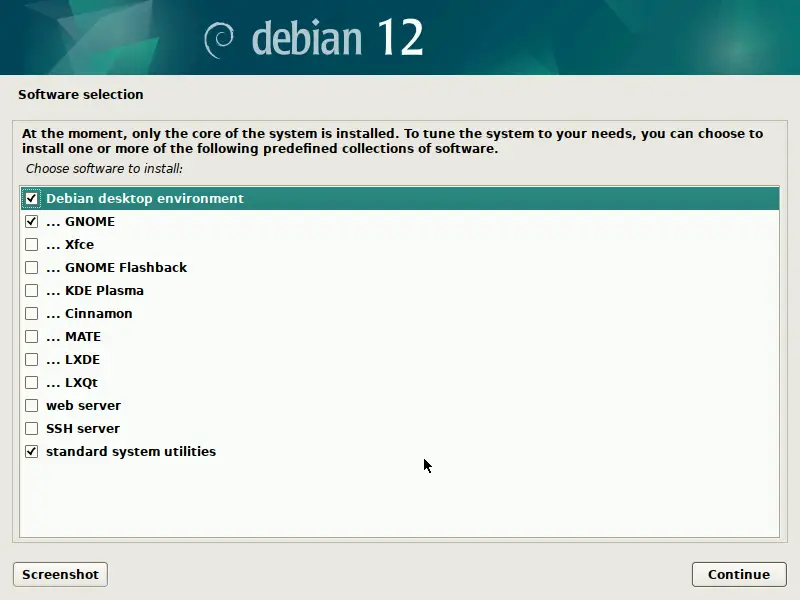
On that screen, you can decide whether to install one of the officially supported desktop environments. You can also install additional software.
Select what you need, but I recommend not selecting more than one desktop environment. Then press Continue.
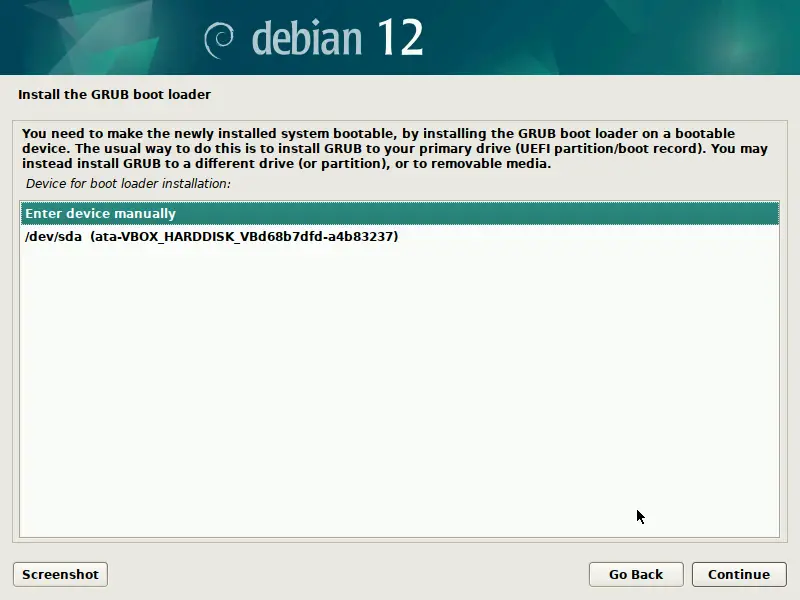
6. Install GRUB boot loader
The installation will continue, and near the end, you will be asked if you want to install GRUB on the hard disk. Choose Yes.

And select the hard disk where you are going to install it. Click Continue.
This will continue the process until you see a screen like this
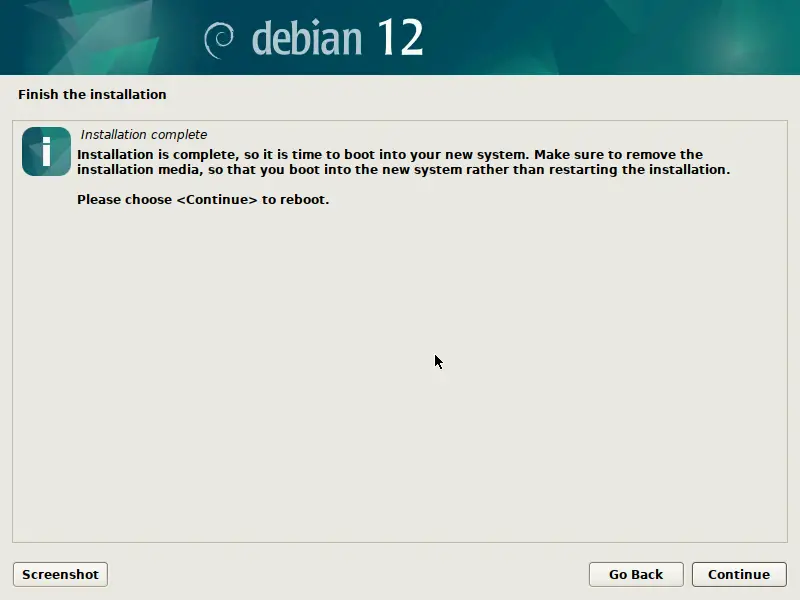
In it, you will see that the whole process has been successful and that you have to reboot the computer to enjoy the system.

When you reboot, you will be able to enjoy Debian 12 in all its splendor.
Conclusion
In this guide, we have taken you step by step through a series of processes involved in a Debian 12 installation from scratch. As you can see, it is not too complex to do, and so you can have one of the most important Linux systems out there.
I hope you liked the post and can share it.