Apache is one of the most popular web servers out there but it is also the subject of many questions. Today we will try to answer two how to install and configure Apache web server on Debian 11.
We’ve already talked about the Apache web server on Debian 11, but it’s always good to remember that it’s a software-level web server from the Apache Foundation. That is, it is open source and we can use it in almost any circumstances.
For this reason, any users want to know how to configure it to serve their websites. Although this varies greatly according to the site and its needs, at least have a gateway to Apache.
In addition to this, Apache has a lot of documentation that will help us in case we have doubts in the process. This documentation should be read before working with the application.
So, let’s go for it.
Install and configure Apache web server on Debian 11
Apache web server is included in most Linux distributions. So it is present in the official repositories. Although we can install it from source code, the easiest way is to do it this way.
So, open an SSH session with Debian 11 and run
sudo apt update
sudo apt install apache2
This way, we can quickly get Apache installed on the system.
Working with Apache Web Server service
When the program is installed, we can know if it is working with the following command
sudo systemctl status apache2
But with the systemctl command we can not only know the status of the service. We can also start, stop, restart or reconfigure Apache in a simple way.
For example, Apache is running because Debian services are started automatically on installation. If you want to stop Apache from running you have to run the following command
sudo systemctl stop apache2
To start the service again you have to run
sudo systemctl start apache2
When we make changes to the apache configuration for them to take effect, we have to restart the service. To do this, you can run
sudo systemctl restart apache2
Also, Apache when installed on Debian is set up to start with the system. This behavior is recommended in production, but you can always change it by running
sudo systemctl disable apache2
To revert this change, you can re-enable it by
sudo systemctl enable apache2
This is how easy it is to work with the Apache service.
Working with the Firewall
If you have a firewall enabled on your system, then you need to set up rules to allow traffic on ports 80 and 443 which are used by apache for accessing websites.
You can do this by using the following command
sudo ufw allow 'Apache Full'
This will open the ports necessary for Apache to function properly.
Testing Apache on Debian 11
Now we can check if Apache is working properly. To do this, open your favorite web browser and go to http://your-domain or http://your-server-ip.
You should see the following image.
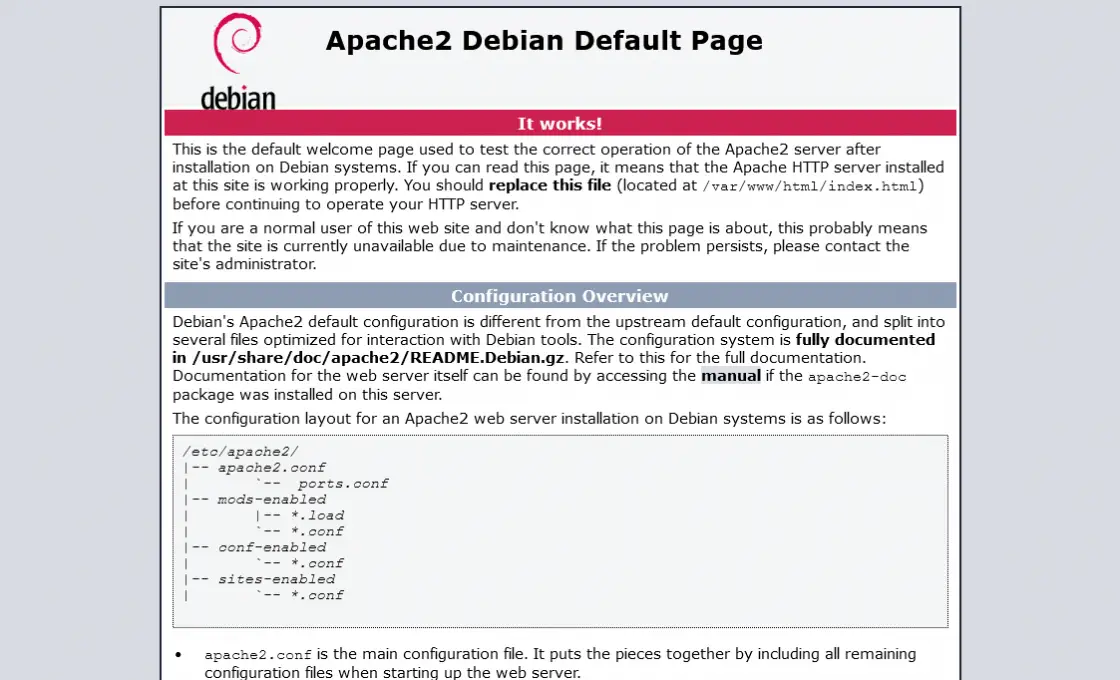
This indicates that Apache is indeed working properly and we can start using it.
Configure Apache webserver
The main Apache configuration file is /etc/apache2/apache2.conf however throughout that /etc/apache2/ folder are other configuration files that the main configuration file reads.
cd /etc/apache2/
ls
Output:
apache2.conf conf-available conf-enabled envvars magic mods-available mods-enabled ports.conf sites-available sites-enabled
In the main conf file, you can configure many things that depend on the needs of the server.
In that Apache folder, the directories ending in -available/ are the ones that contain the configuration files, while the ones ending in -enabled/ contain symbolic links to the configuration files you want Apache to load.
Creating a new Virtualhost for Apache
Now it’s time to create a new VirtualHost that we can use to deploy multiple websites on a single server. Or rather, we can use it for the subdomain thing as well.
So, create a new folder for the VirtualHost, you can call it whatever you want, but it should be a referential name.
sudo mkdir /var/www/example.imaginelinux.test
Then, make the user or Apache the owner of the folder and assign permissions to it
sudo chown -R $USER:$USER /var/www/example.imaginelinux.test/
sudo chmod 755 -R /var/www/example.imaginelinux.test/
Create an HTML file to prove that we are on the correct virtualhost
nano /var/www/example.imaginelinux.test/index.html
And add some HTML code
<html>
<head>
<title>New VirtualHost testing</title>
</head>
<body>
<h1>Welcome to imaginelinux</h1>
</body>
</html>
Now we need to make a new configuration file for the new Virtualhost in Apache. The name of the configuration file can also be whatever you want but I recommend making it descriptive.
sudo nano /etc/apache2/sites-available/newvirtual.conf
And add the configuration you need. For example:
<VirtualHost *:80>
ServerAdmin example@example
ServerName example.imaginelinux.test
DocumentRoot /var/www/example.imaginelinux.test/
ErrorLog ${APACHE_LOG_DIR}/error.log
CustomLog ${APACHE_LOG_DIR}/access.log combined
</VirtualHost>
In this case, the important values are the Server Name which refers to your domain; a Server Alias will be used for redirection and configuration; Server Admin provides information about the site administrator; Document Root is the path to the folder where the new site is located.
Save the changes and close the editor.
Enable the new VirtualHost
sudo a2ensite newvirtual.conf
And optionally you can disable the default one
sudo a2dissite 000-default.conf
Also, you can check if the syntax of the Virtualhost has error
sudo apache2ctl configtest
Output:
Syntax OK
To apply the changes, restart the Apache service
sudo systemctl restart apache2
Now open your favorite web browser and go to http://your-domain and you should see the information you put in the index.html file inside the new Virtualhost.

So, apache is configured.
Conclusion
In this post, you have learned how to install Apache on Debian 11. In addition, you have been able to configure it efficiently so that when you are ready you can use it to serve your projects,
So, tell us, do you like Apache, do you use it, leave us a comment?